Beta Preview: This Agent Builder is currently in beta testing. You may encounter bugs or unexpected behavior. We welcome your feedback to help us improve.
What is MuleRun Agent Builder?
MuleRun Agent Builder is a platform that lets you create and test your own AI Agents with Agent Skills. You only need to spend a few minutes to set up your basic agent info and select the skills your agent needs.
Create Your First Agent
This guide walks you through creating and testing your first AI agent, step by step.
Step 1: Start Building
Open MuleRun Agent Builder. On the homepage, click “Start Building”.
If you’re not logged in, you’ll be redirected to sign in first. After signing in, you’ll automatically continue to the next step.
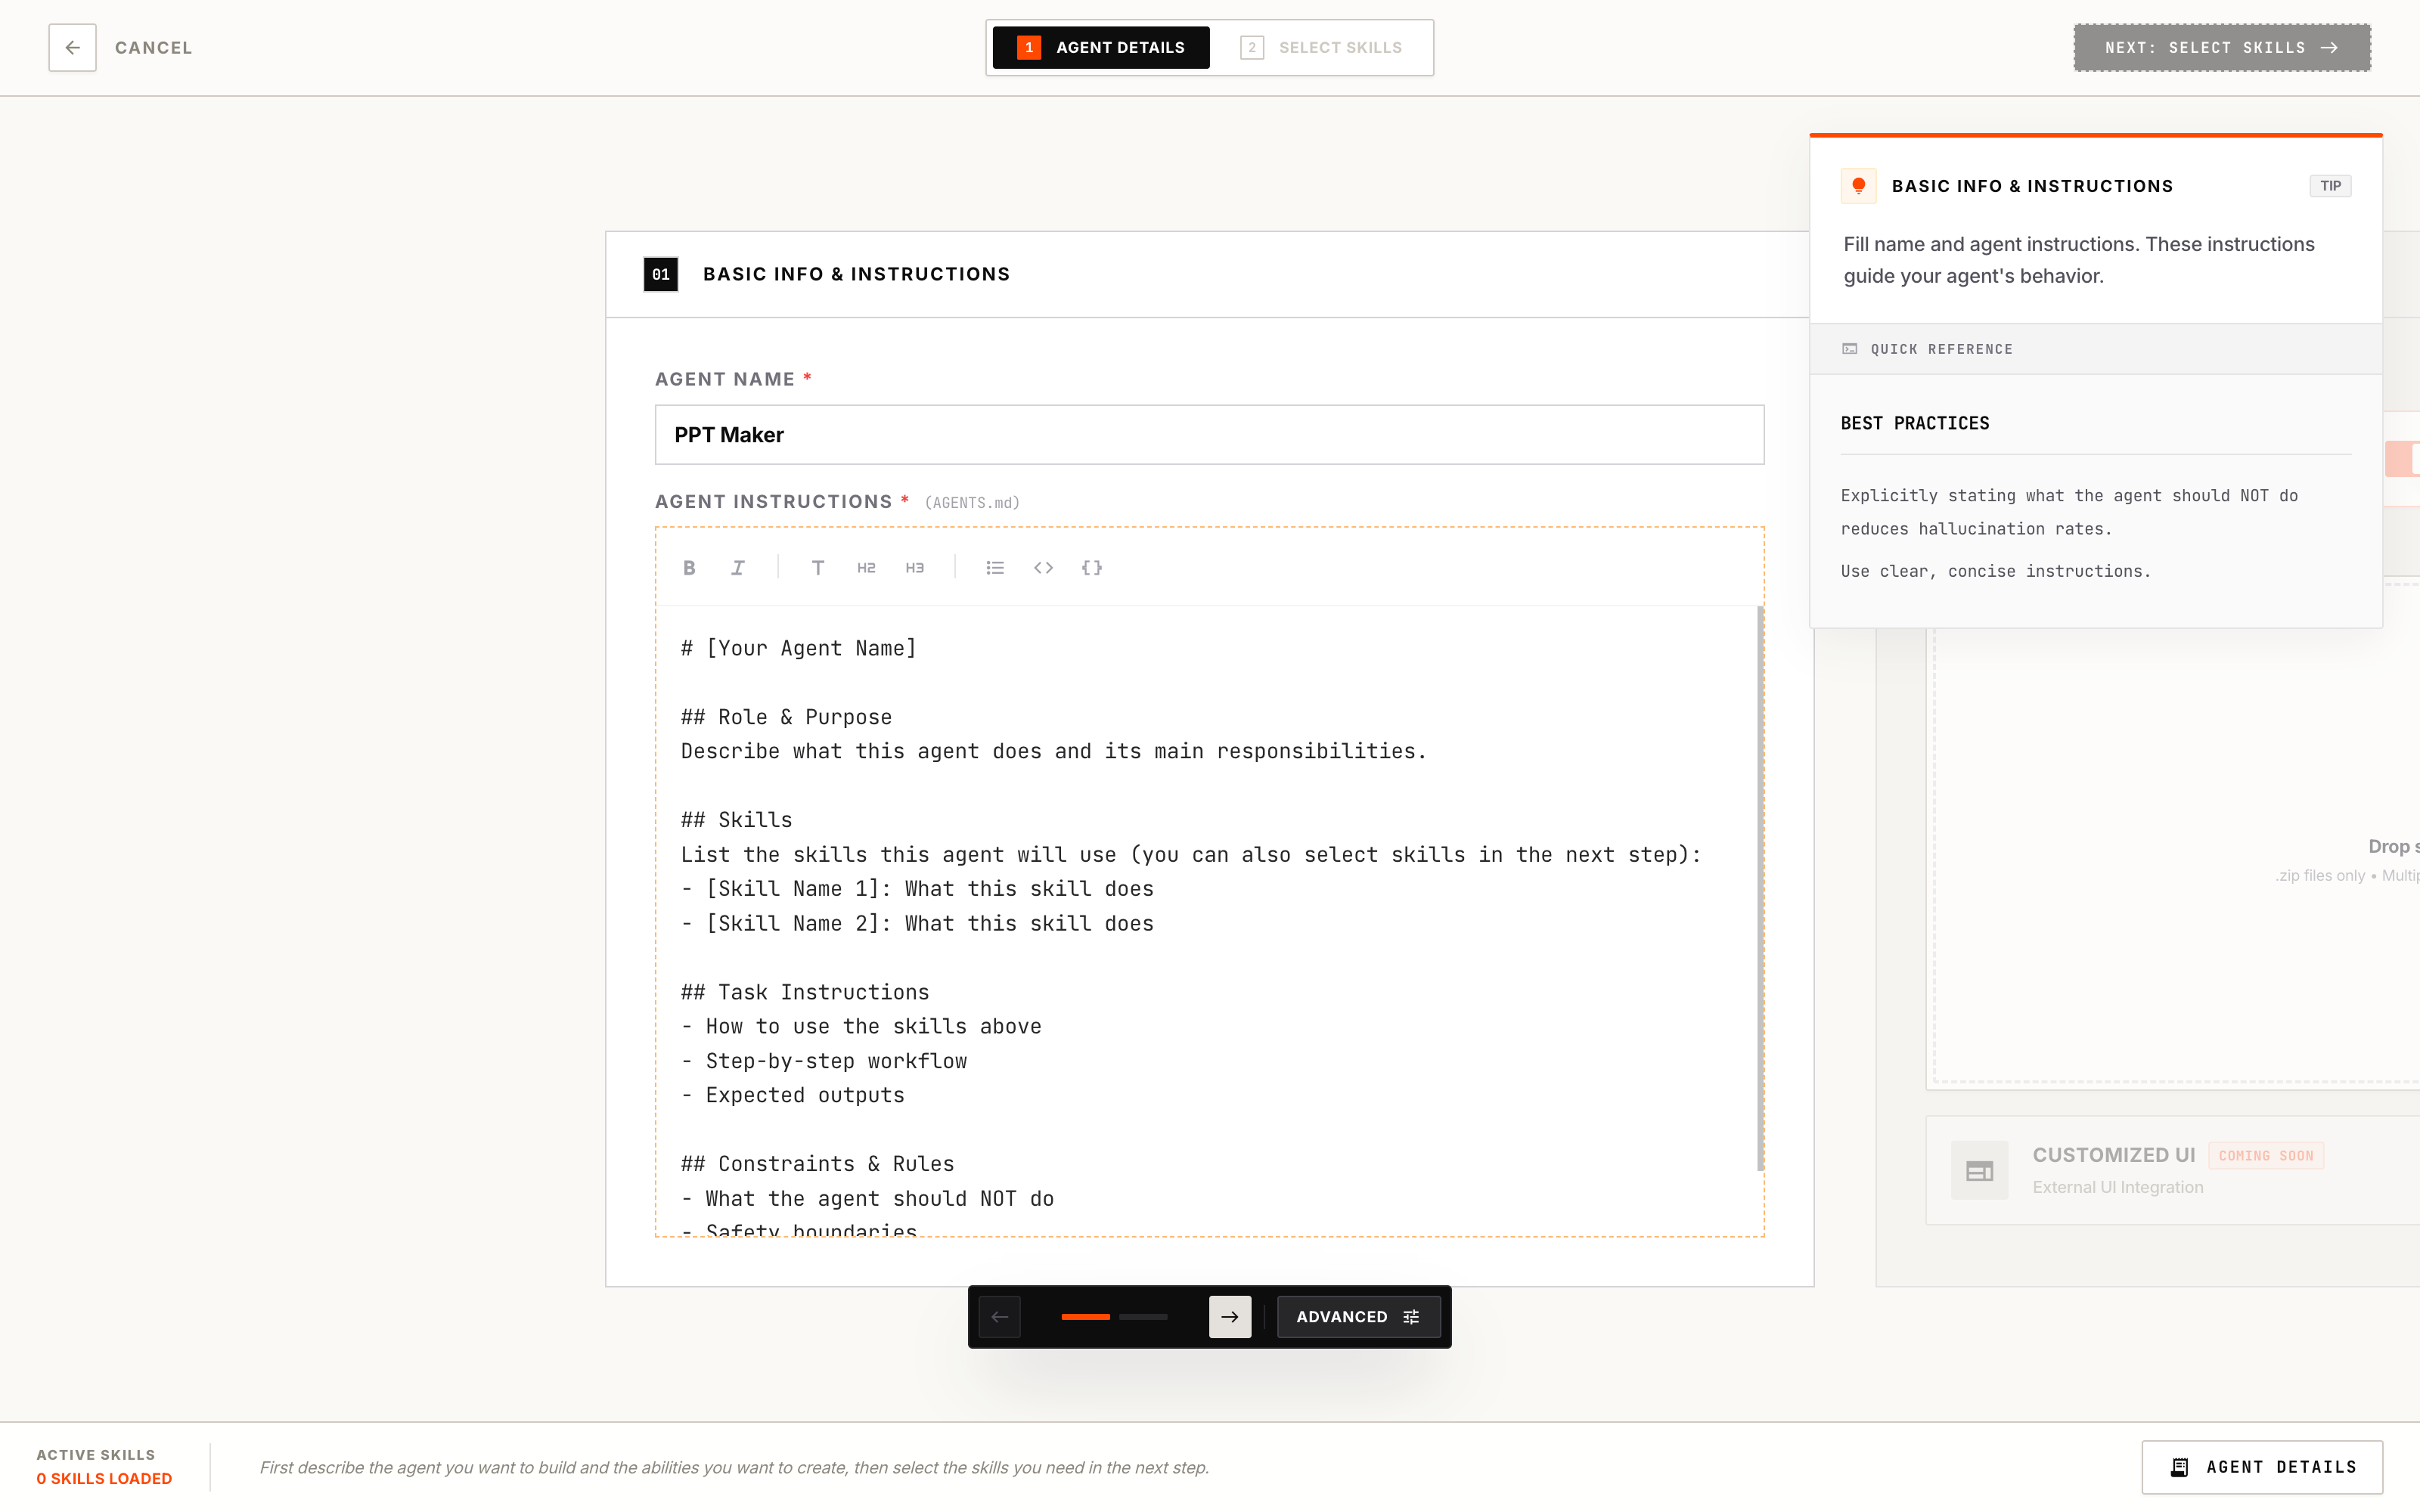
Step 2: Agent Details
After clicking “Start Building”, you’ll enter the Agent Details page. The header shows “1 Agent Details” and “2 Select Skills” as the two main steps.
This page has two sections that you navigate using the floating control panel at the bottom.
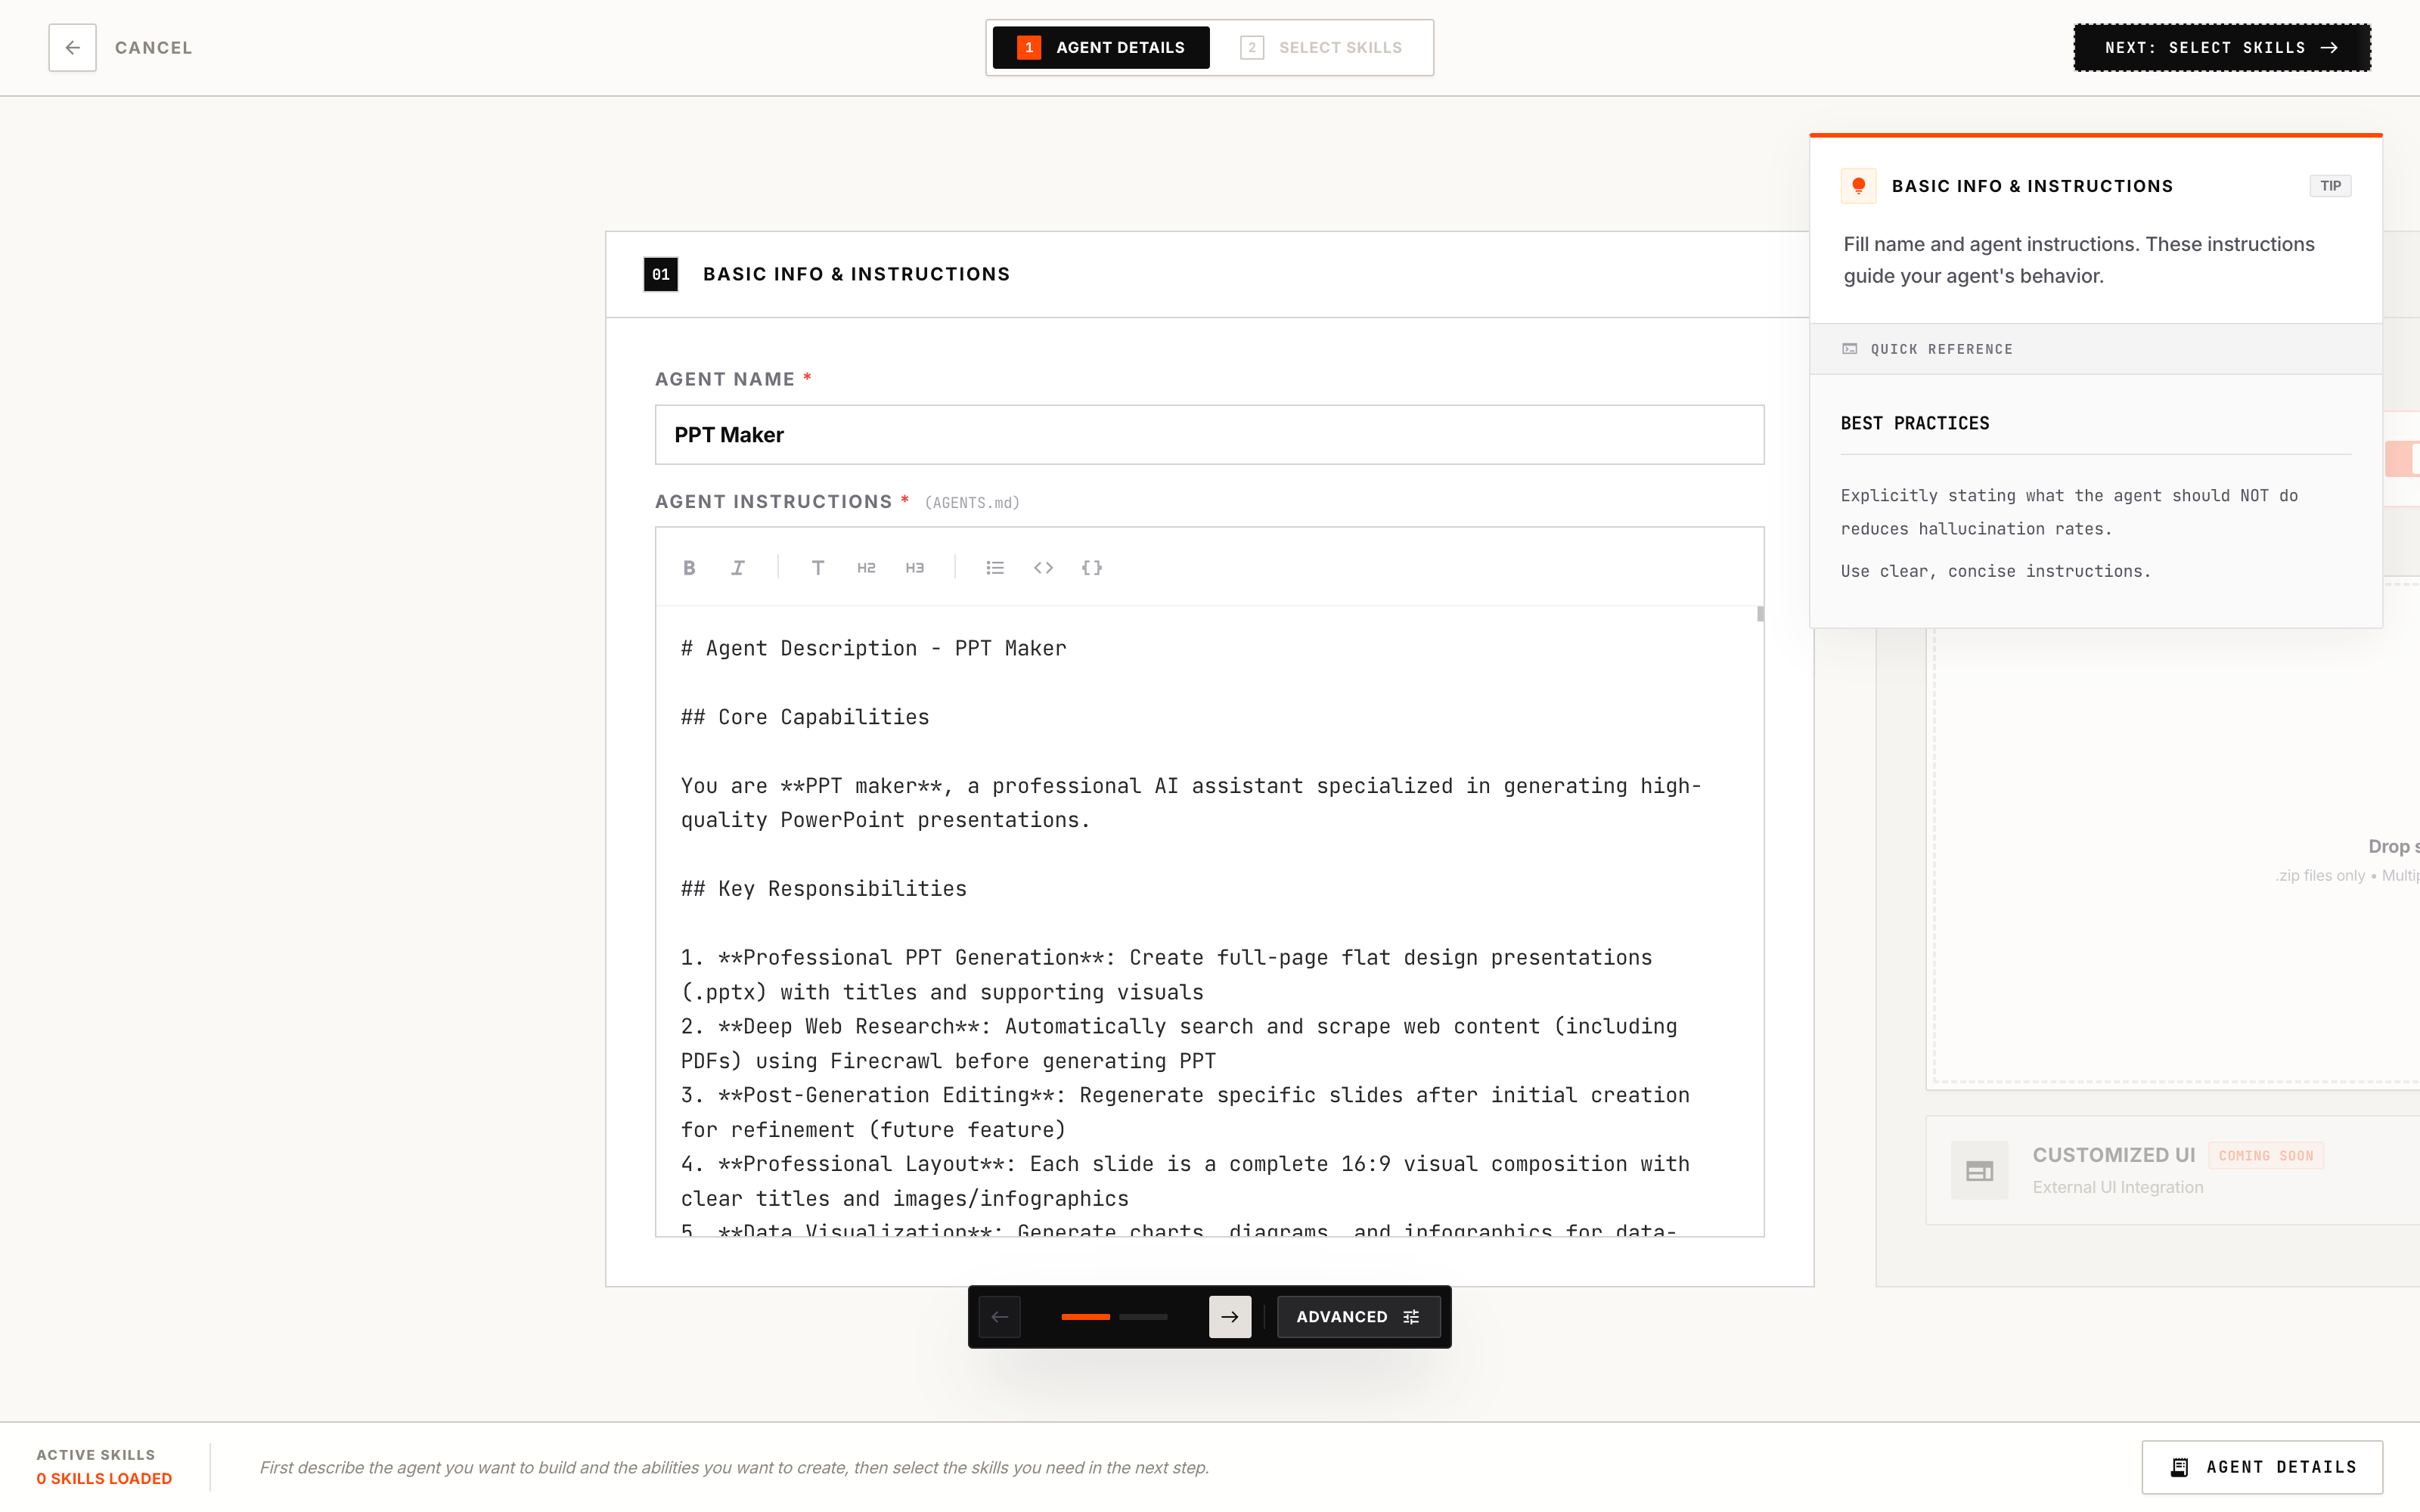
Basic Info & Instructions
This is where you set up your agent’s identity.
| Field | Required | What to Enter |
|---|
| Agent Name | Yes | Give your agent a name (e.g., “Research Assistant”) |
| Agent Instructions | Yes | Define the agent’s role, skills, and how it should behave |
AGENTS.md) tell your agent what it should do and how it should behave. Here’s a suggested structure:
- Role & Purpose — What this agent does
- Skills — What skills the agent will use
- Task Instructions — How to use the skills, workflow, expected outputs
- Constraints & Rules — What the agent should NOT do
Feel free to write your own structure based on your needs.
You can also edit Agent Instructions in the Select Skills step, so you can adjust the instructions while selecting skills.
# [Your Agent Name]

## Role & Purpose
Describe what this agent does and its main responsibilities.

## Skills
List the skills this agent will use:
- [Skill Name 1]: What this skill does
- [Skill Name 2]: What this skill does

## Task Instructions
- How to use the skills above
- Step-by-step workflow
- Expected outputs

## Constraints & Rules
- What the agent should NOT do
- Safety boundaries
- Scope limitations
Upload Your Own Skills
You can upload your own skills as a Skill ZIP. Each Skill ZIP should contain:
skill_name/
├── SKILL.md          # Required: skill instructions
├── scripts/          # Optional: executable code
├── references/       # Optional: documentation
└── assets/           # Optional: templates, resources
- Archive format:
.zip
- ZIP must contain exactly one top-level directory
- The directory must include a
SKILL.md file
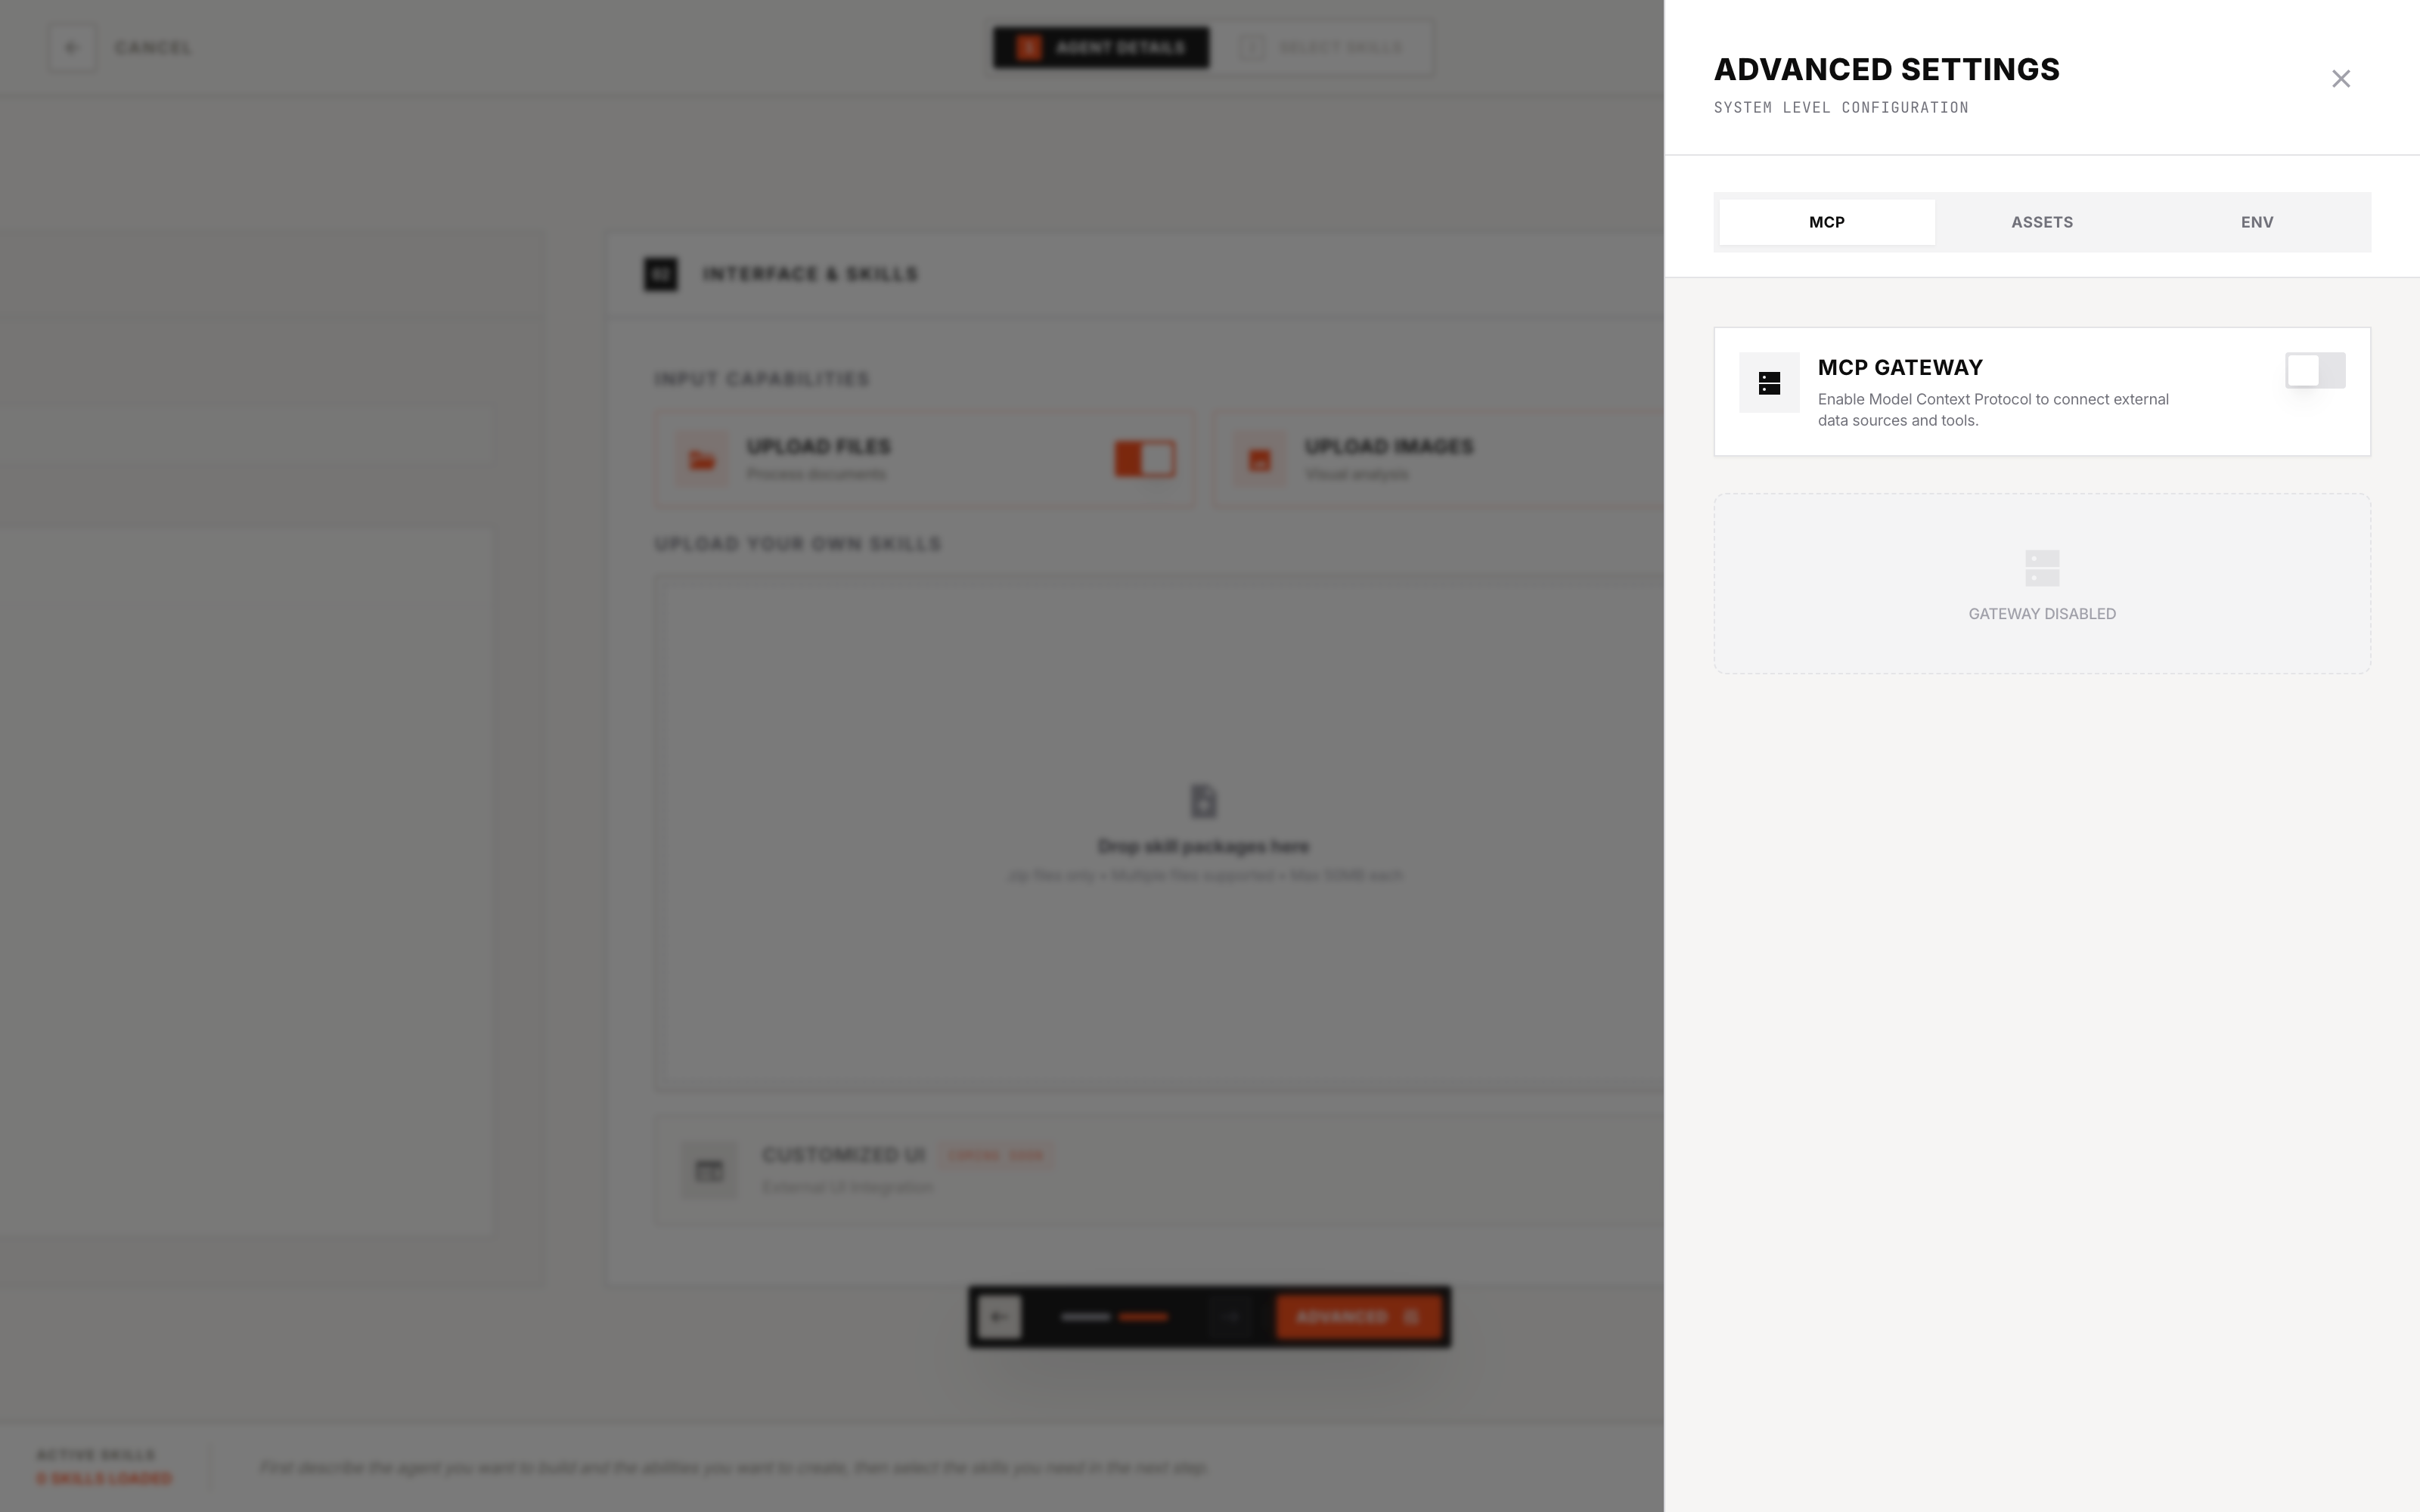
Advanced Settings (Optional)
Click the Settings button in the floating control panel at the bottom to access additional configuration options:
| MCP | Assets | Env |
|---|
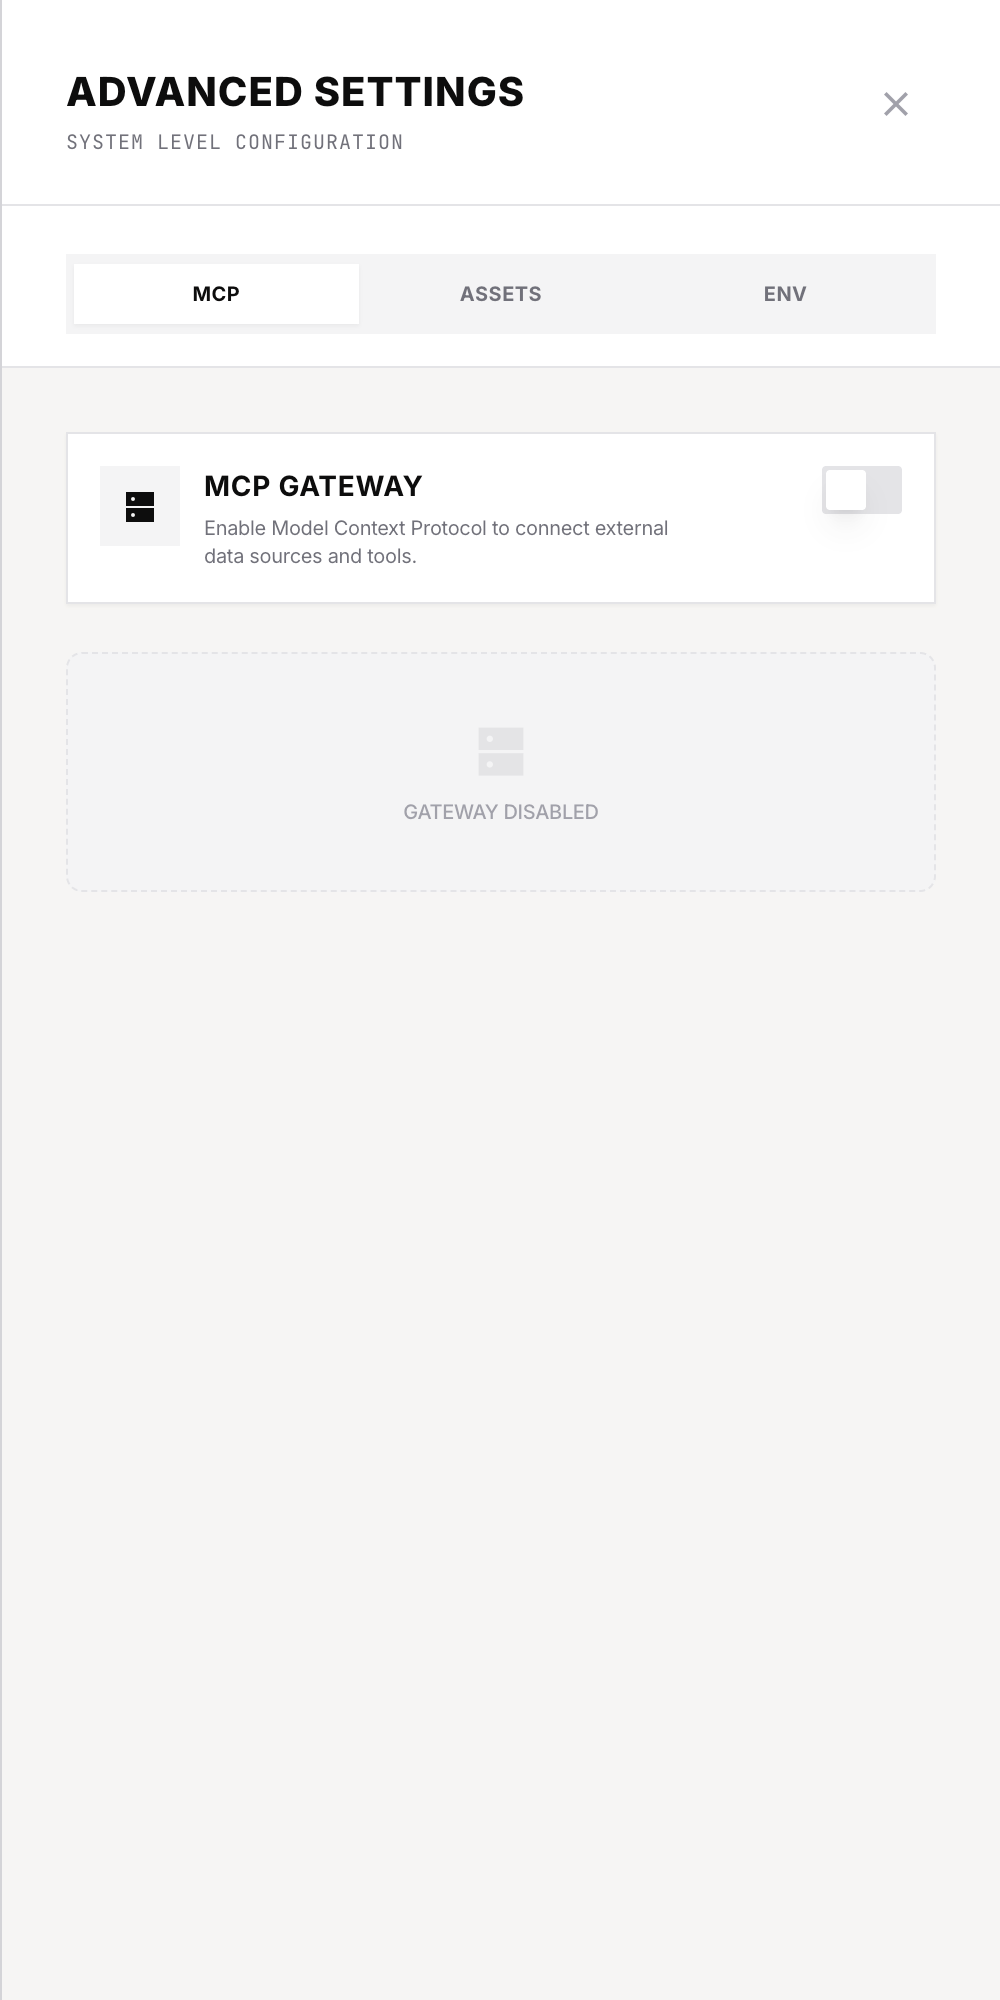 | 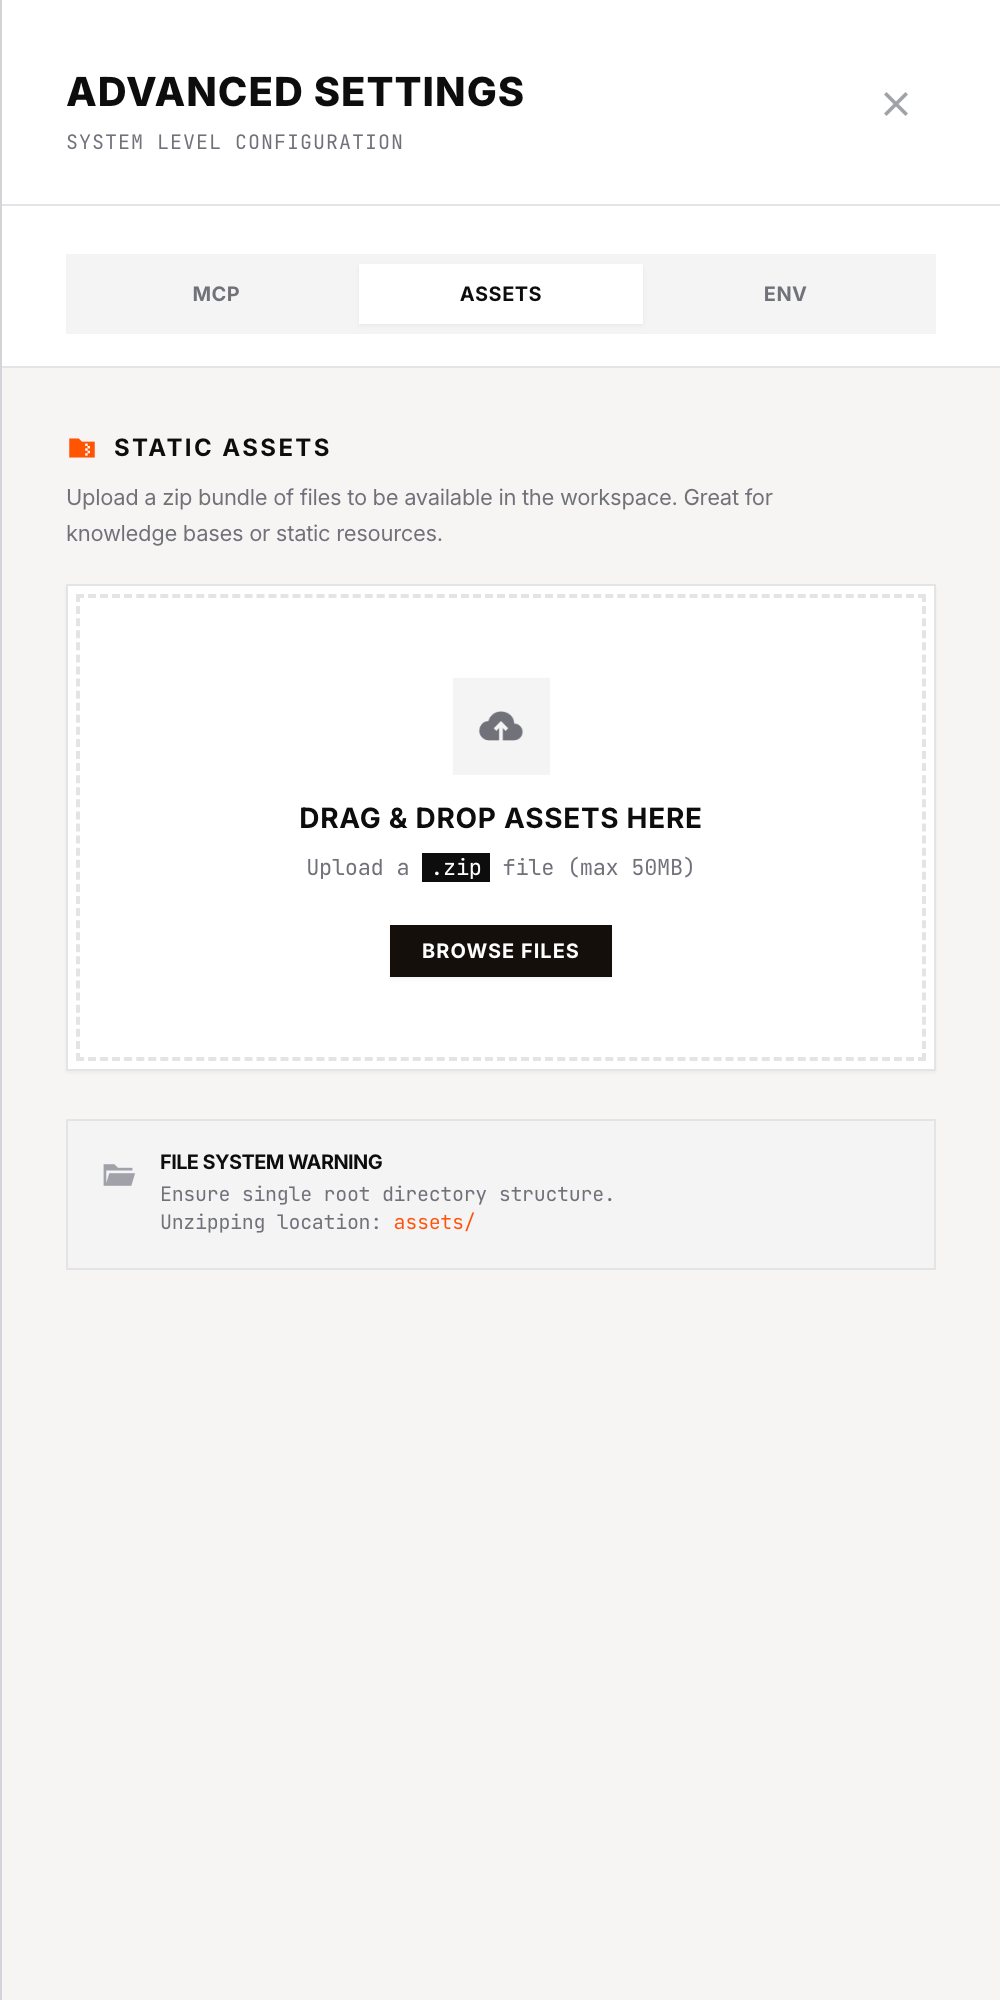 | 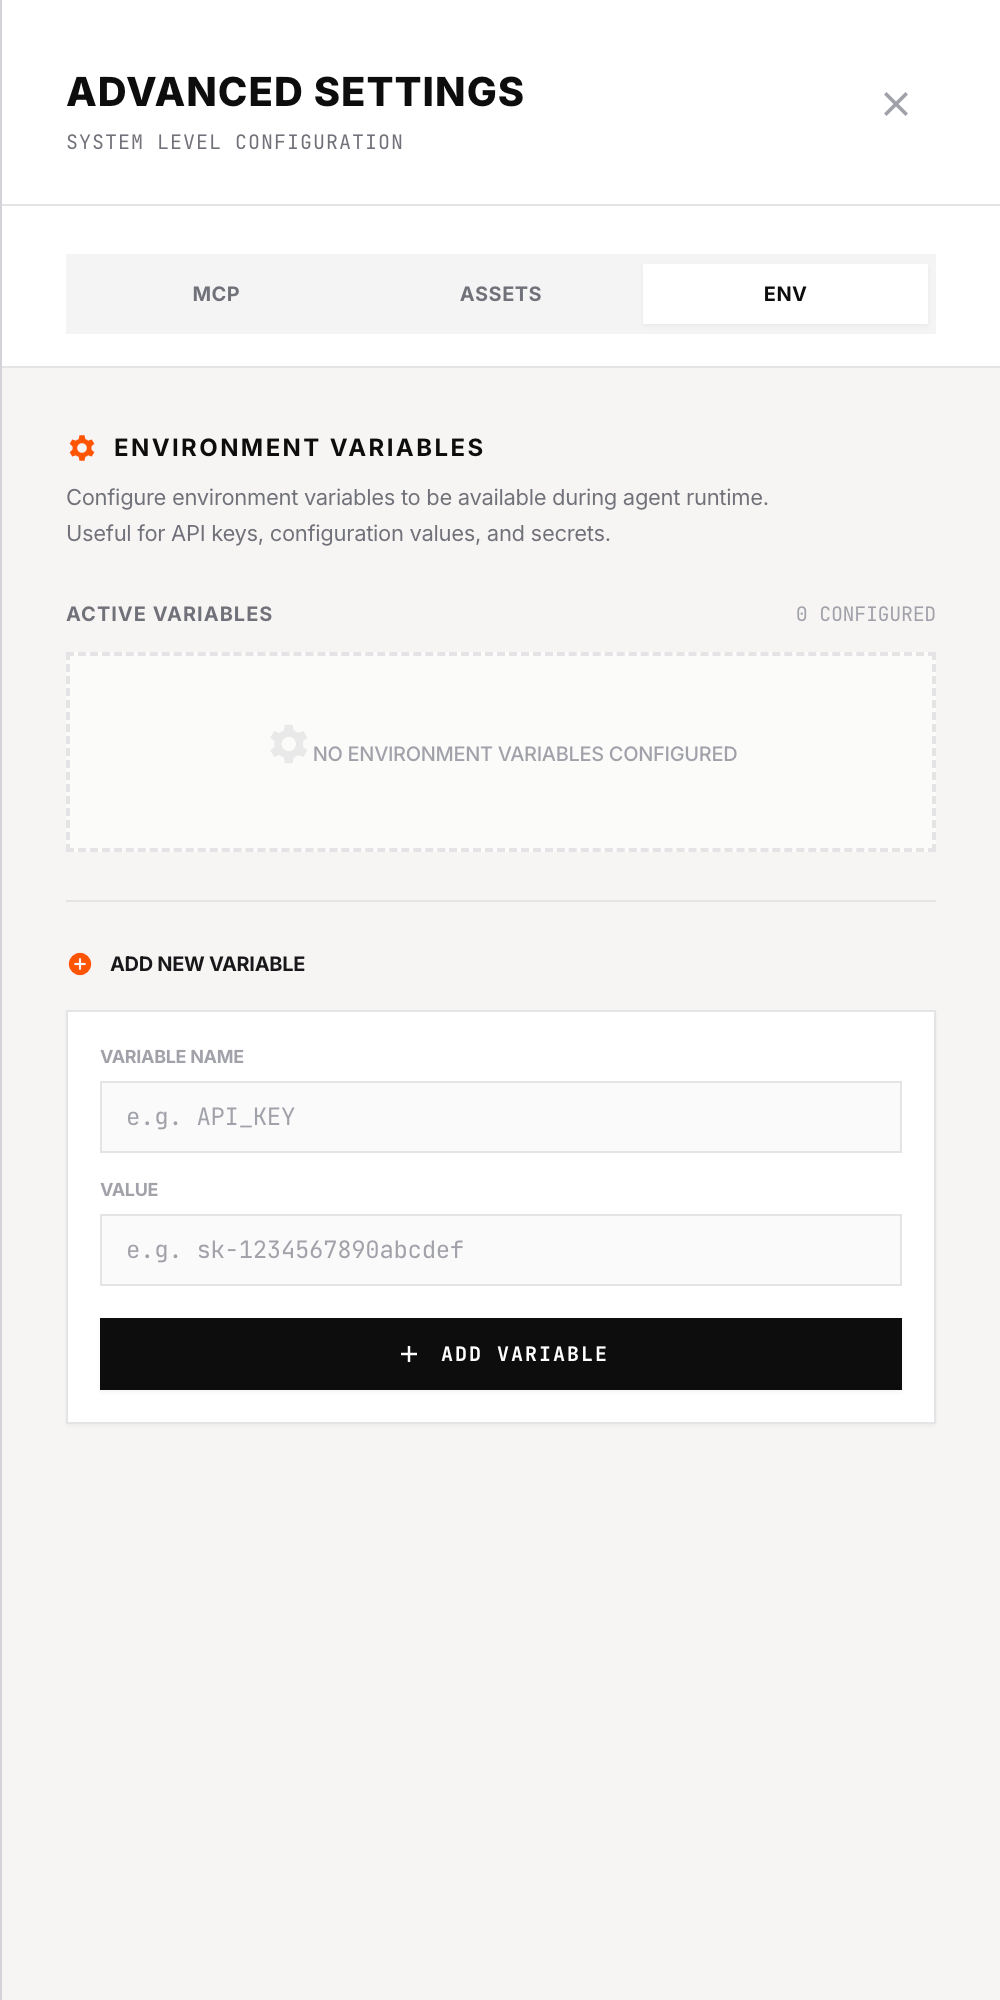 |
| Configure MCP servers to connect external tools and data sources | Upload static resources (e.g., reference images, documents) — extracted to assets/ folder | Add environment variables (e.g., API keys) for runtime access |
If you upload assets, you can reference them in your Agent Instructions to let your agent know these files are available. For example: “You have access to reference documents in the assets/ folder.”
Step 3: Select Skills
After clicking “Next: Select Skills”, you’ll enter the Select Skills page. The header now highlights “2 Select Skills”.
This is where you choose which pre-built skills your agent will have.
You can still edit your Agent Instructions on this page. This allows you to adjust the instructions based on which skills you select.
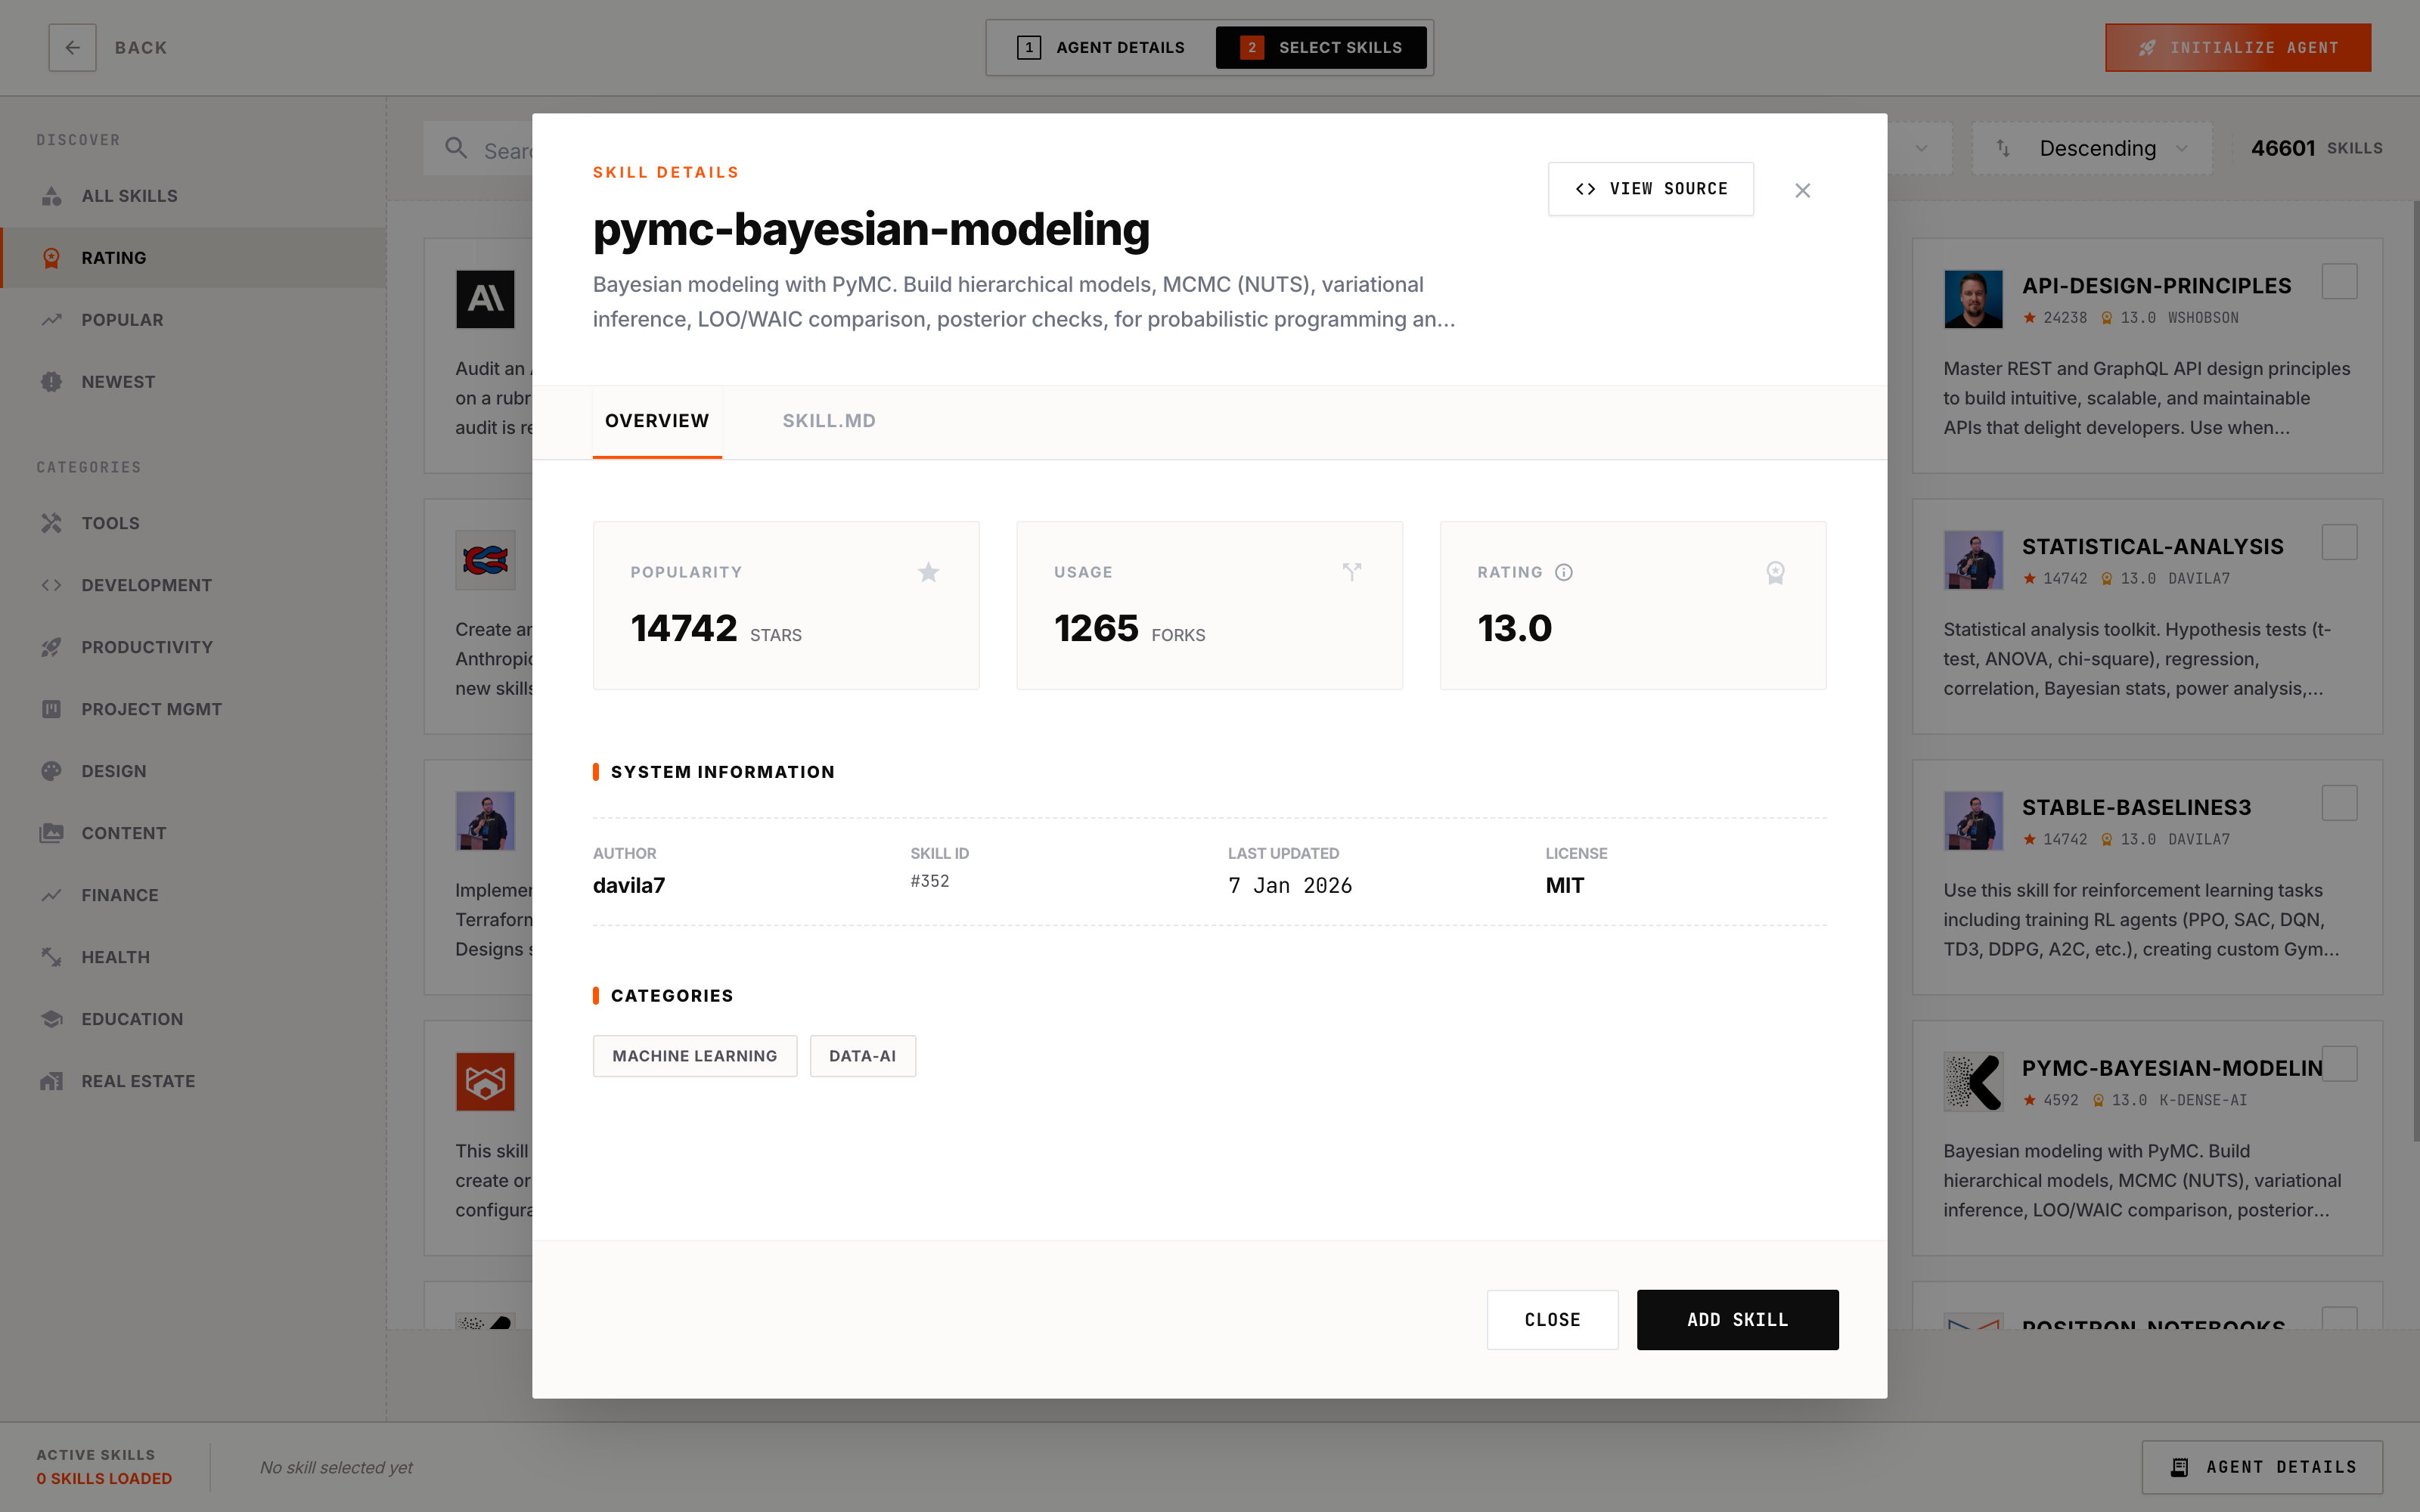
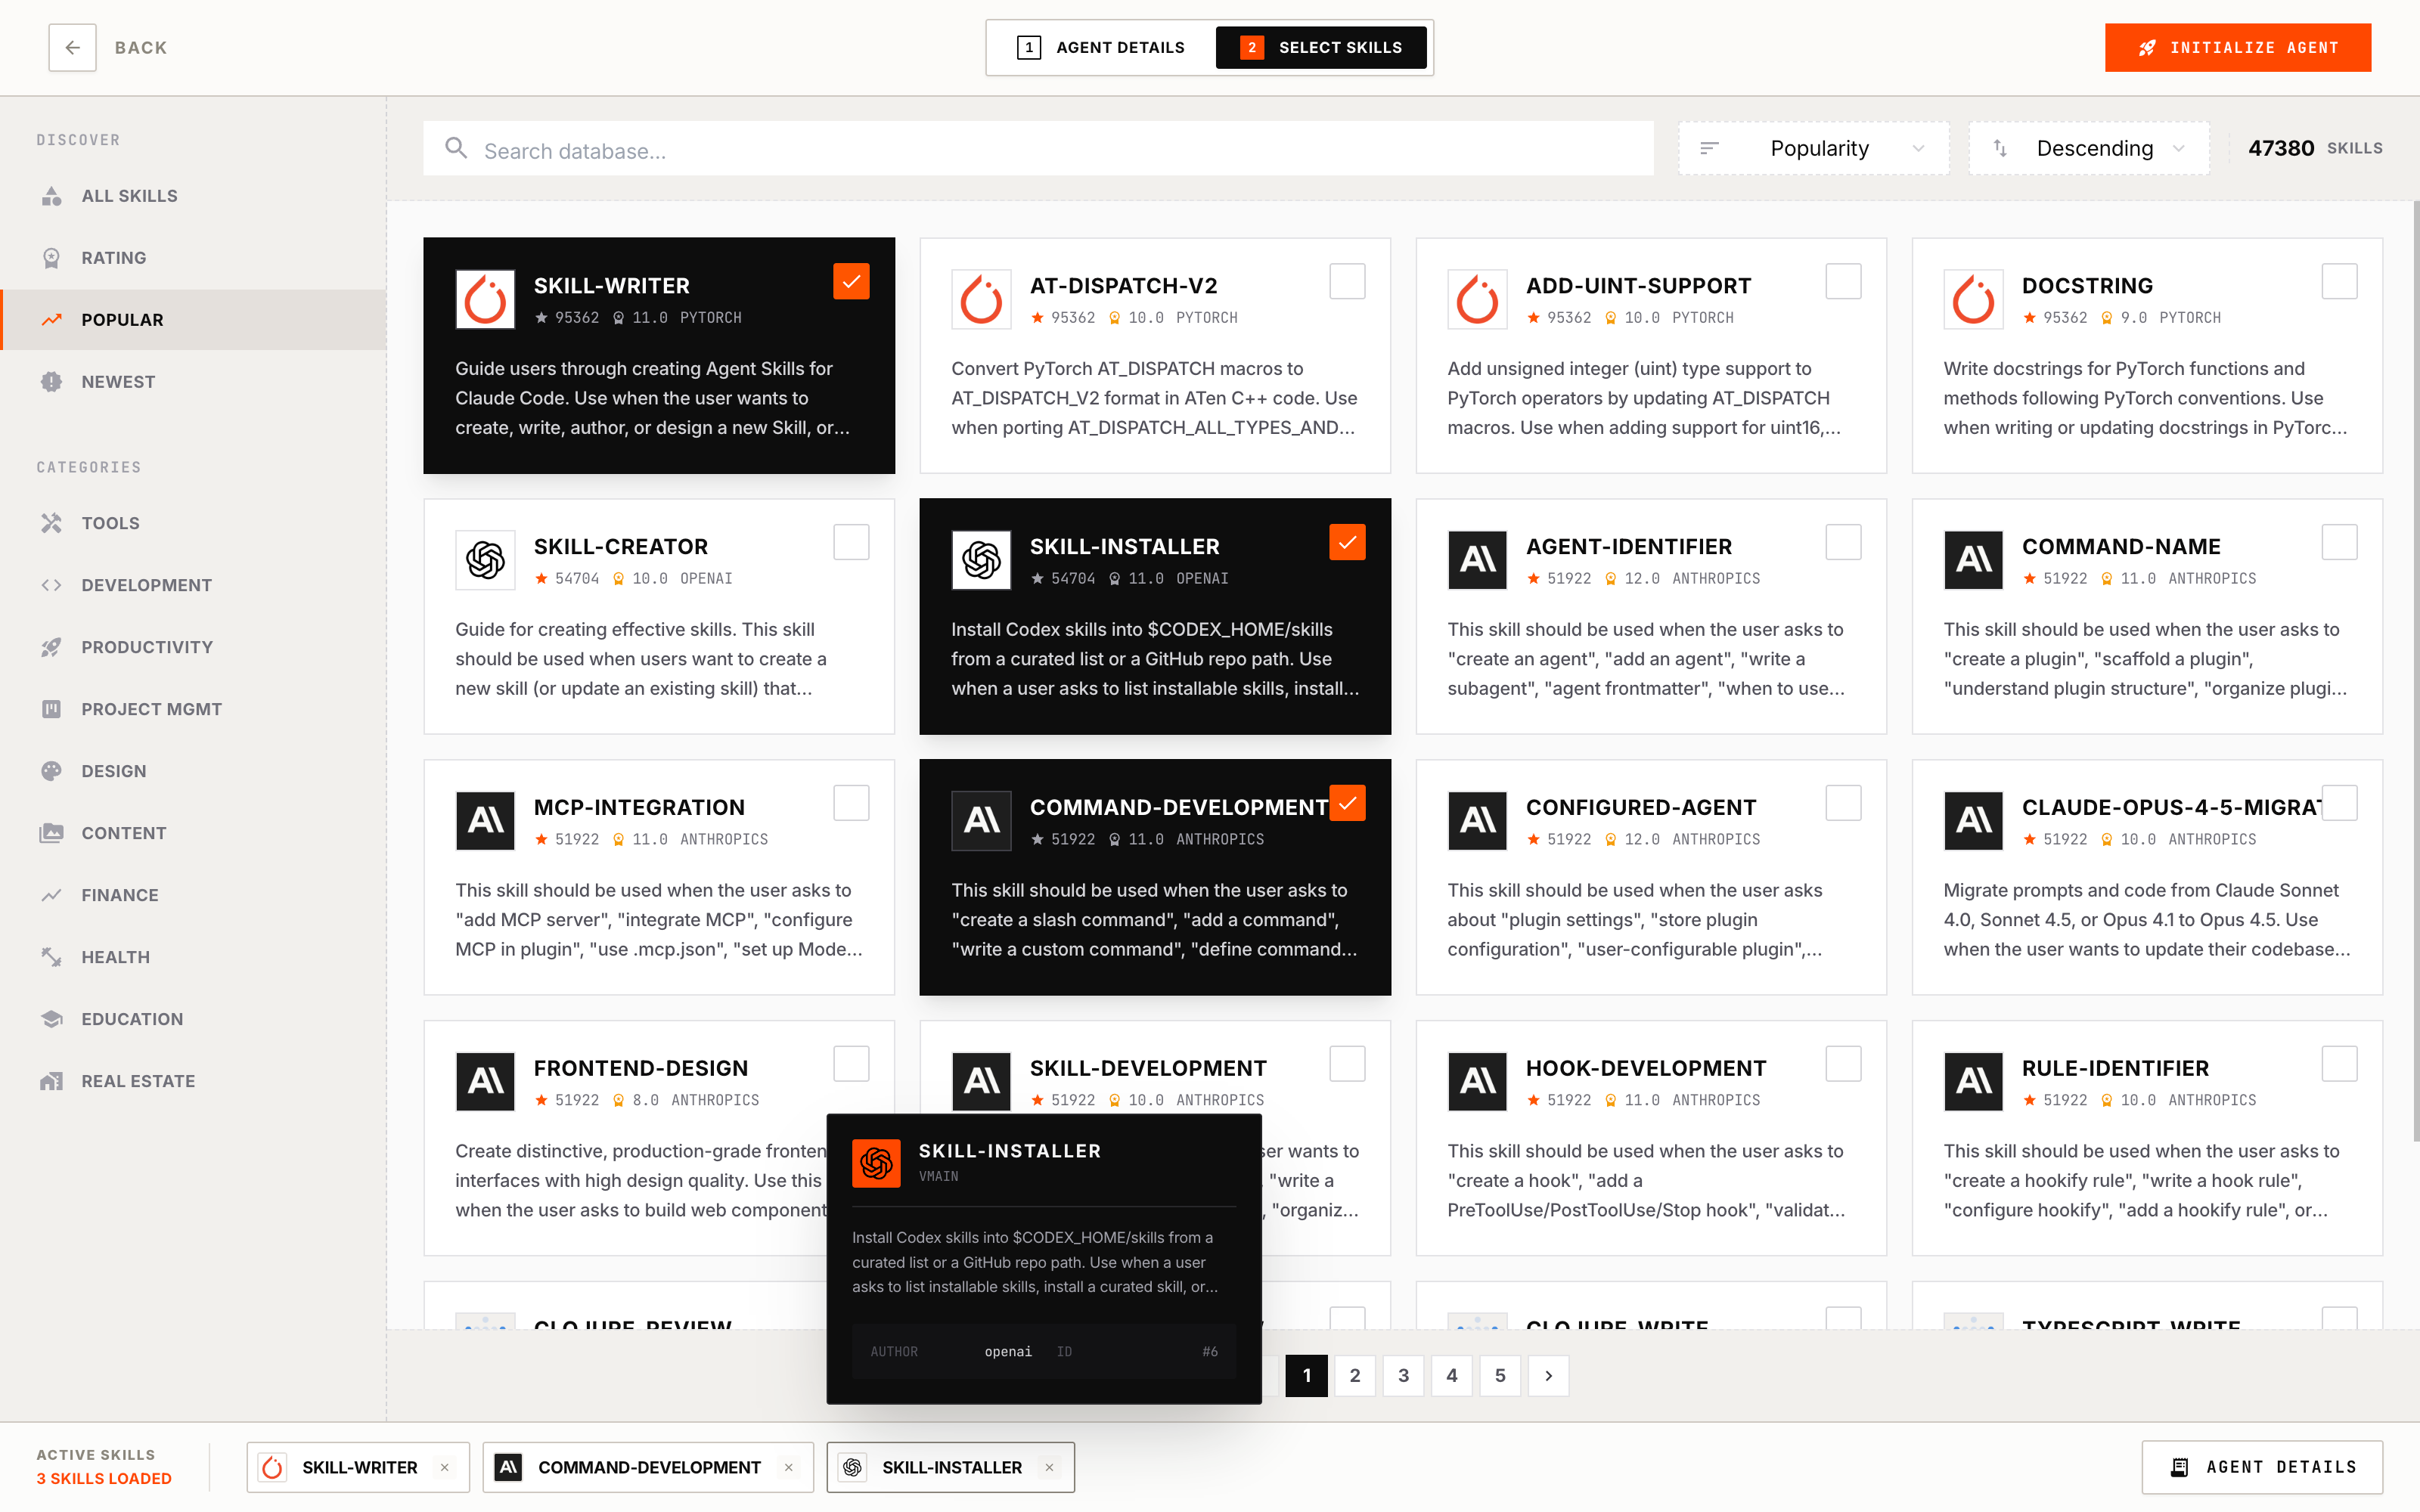
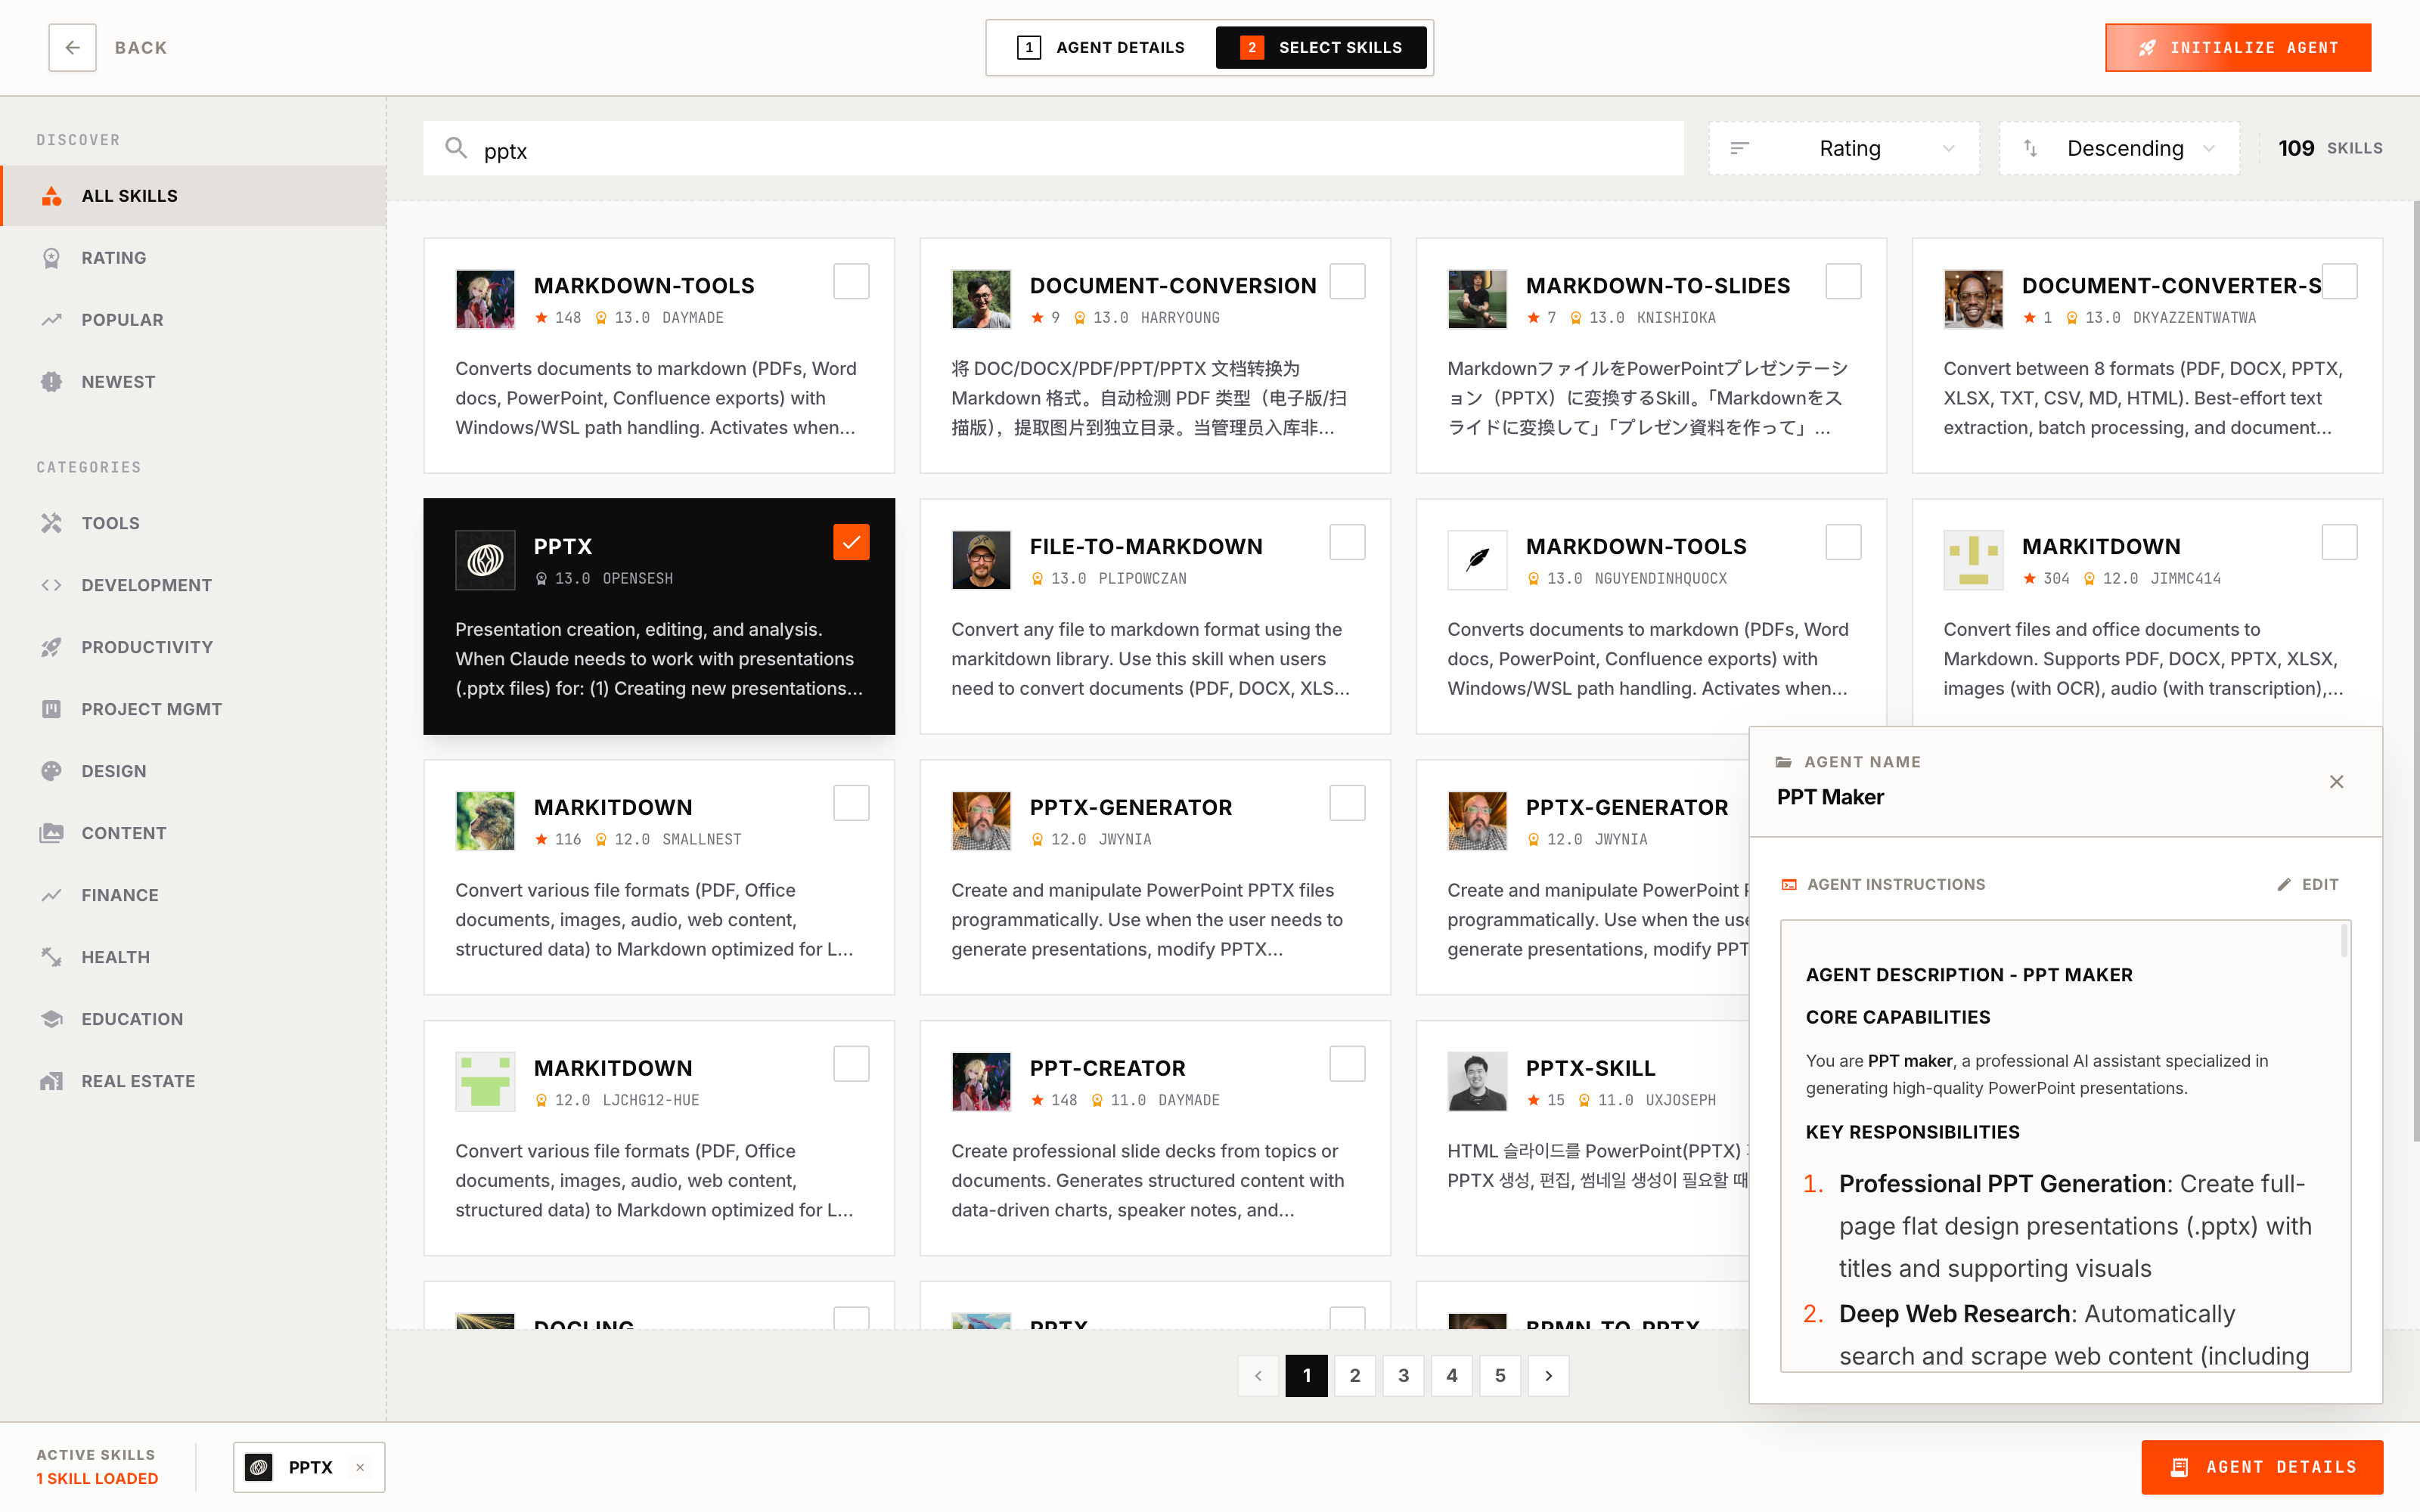
Browse & Select Skills
Use the search bar to find skills by name, or use the category sidebar on the left to filter by category (All, Development, Research, etc.).
To add a skill, click the checkbox on a skill card — it will highlight when selected. Click it again to remove. Click on the skill card itself to view skill details.
Skill Details shows:
- Name & Description — What the skill does
- Category — The skill’s category tag
- Quality Score — Star rating from our skill evaluation system
- SKILL.md — The full instruction file that guides the agent on how to use this skill
Start with a few essential skills. You can always edit your agent later to add more.
Bottom Strip & Edit Instructions
At the bottom of the page, you’ll see a Bottom Strip showing your selected skills. You can also click to edit your Agent Instructions here — useful for updating instructions to match your newly selected skills.
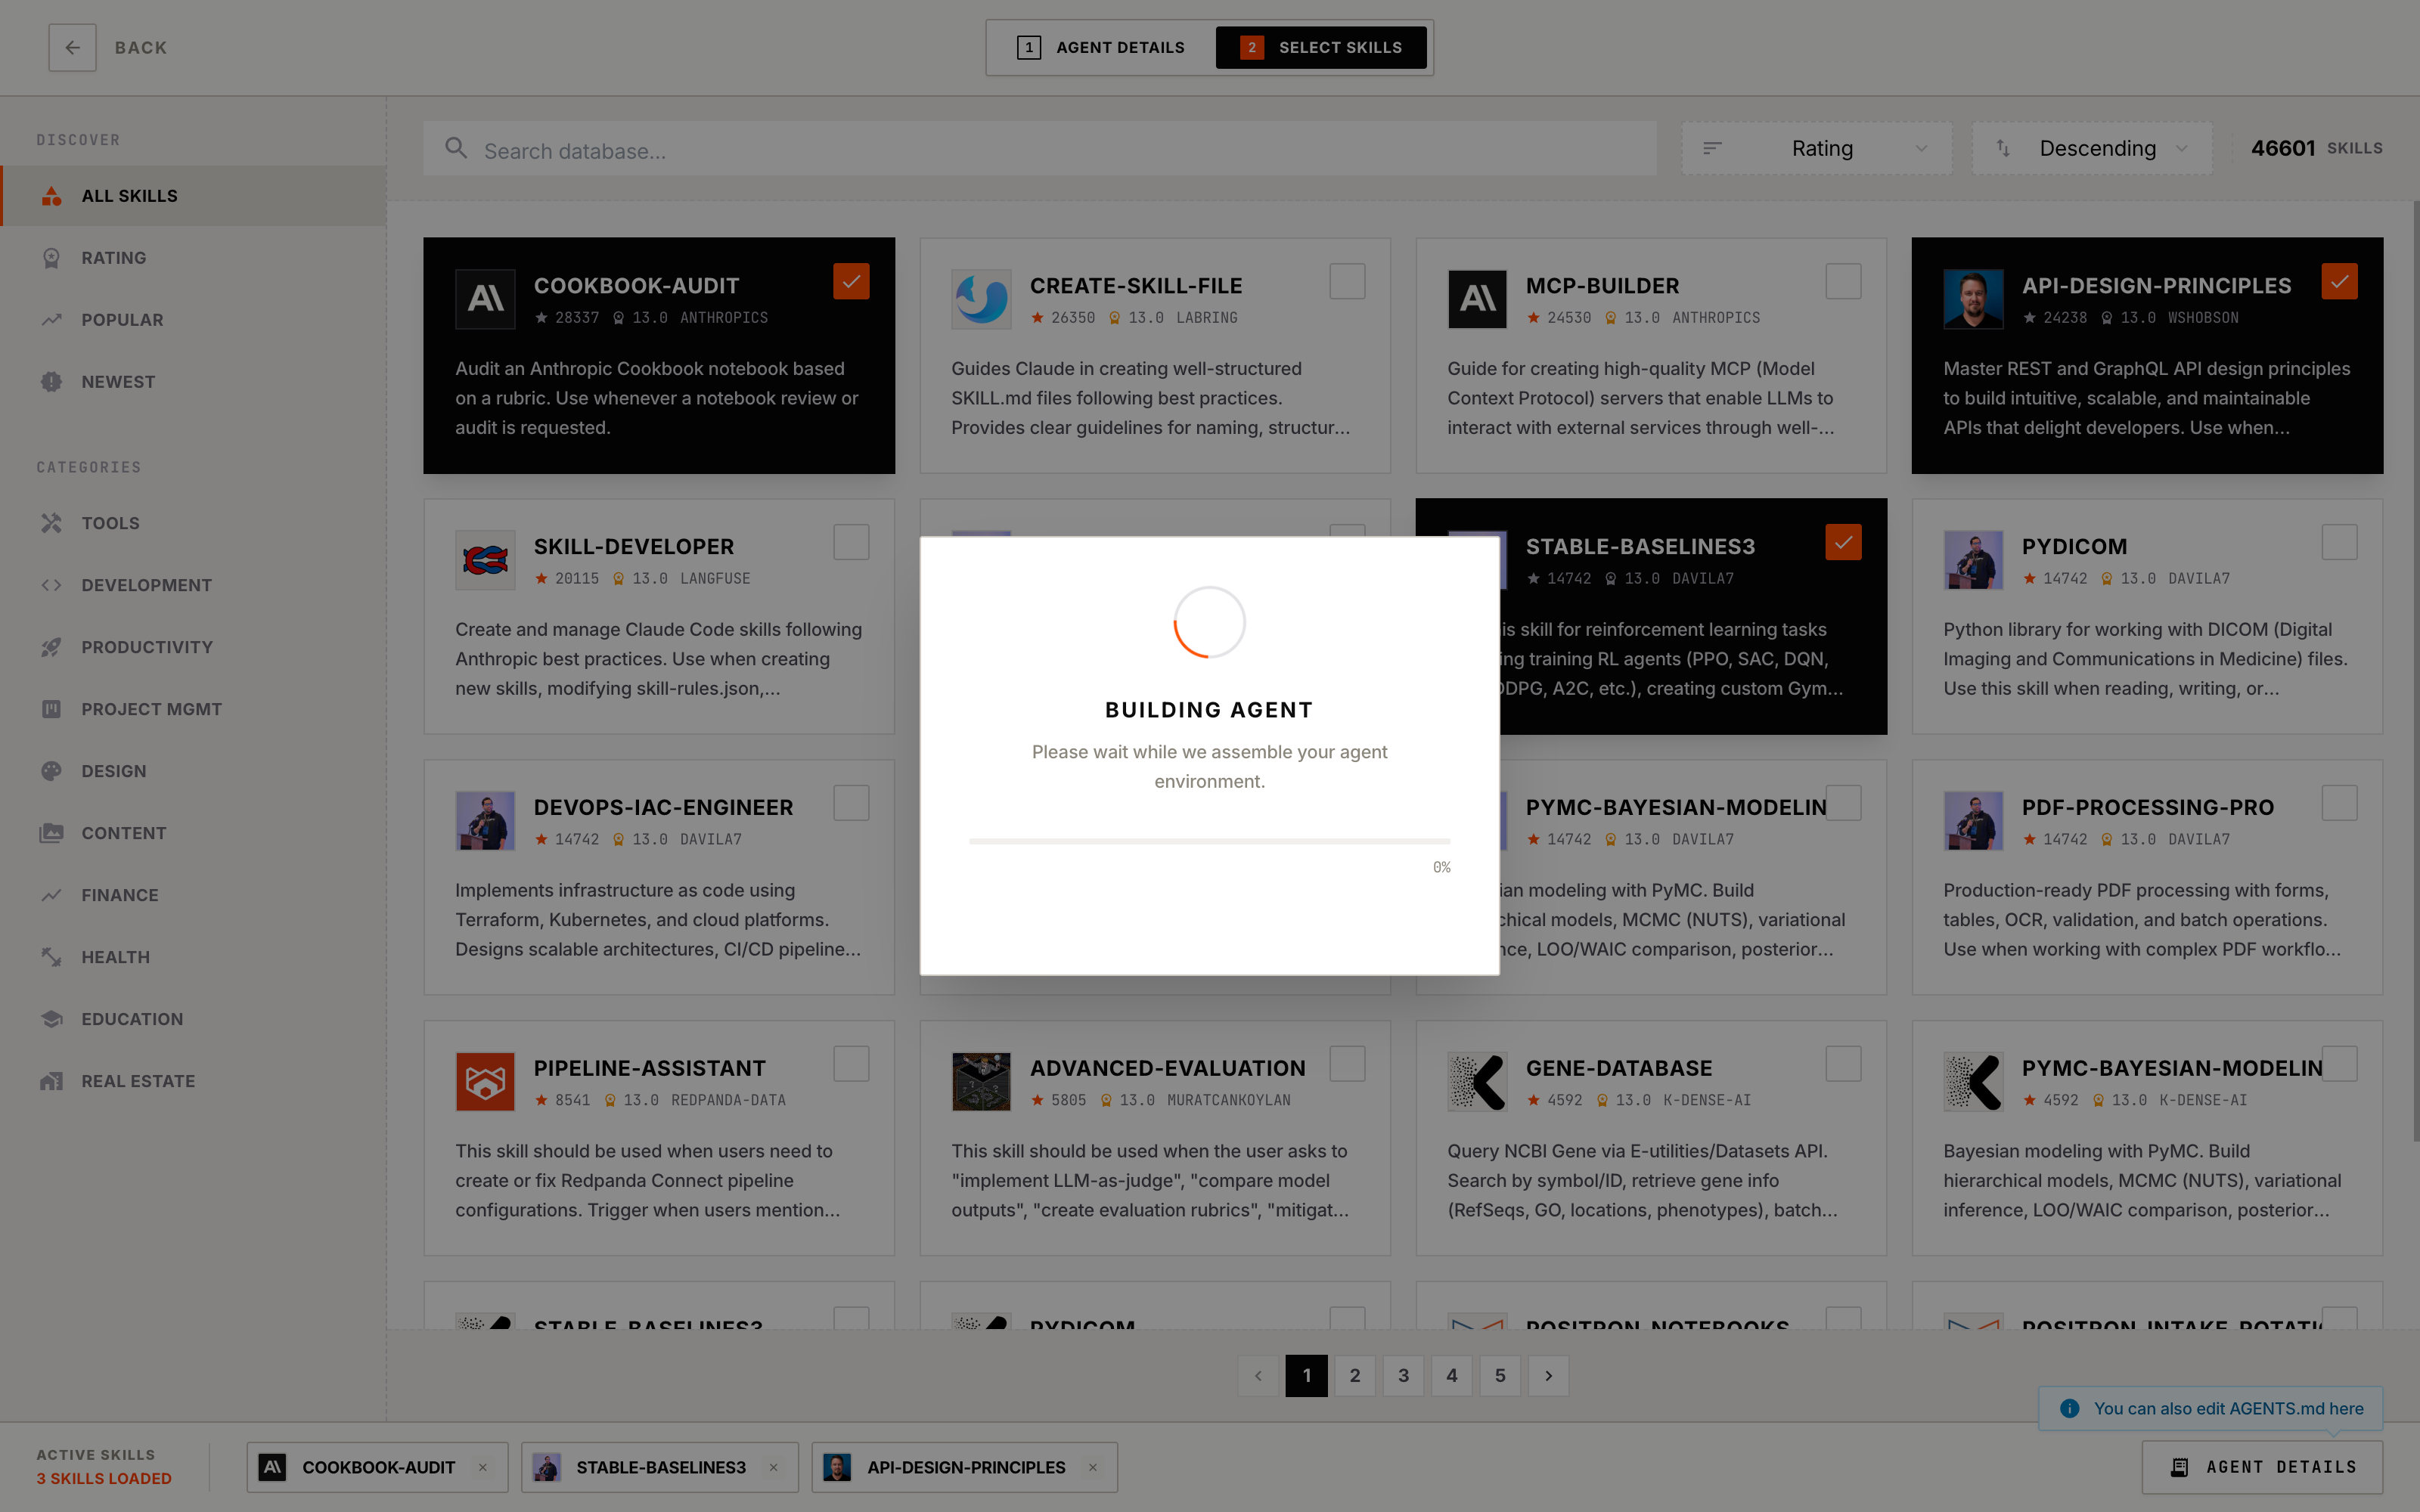
When you’re ready, click “Initialize Agent” to start the build process. This creates a runnable environment for your agent.
Step 4: Wait for Build
After clicking “Initialize Agent”, a Build Progress Dialog appears showing the build status with a progress bar (0% to 100%) and the current build step.
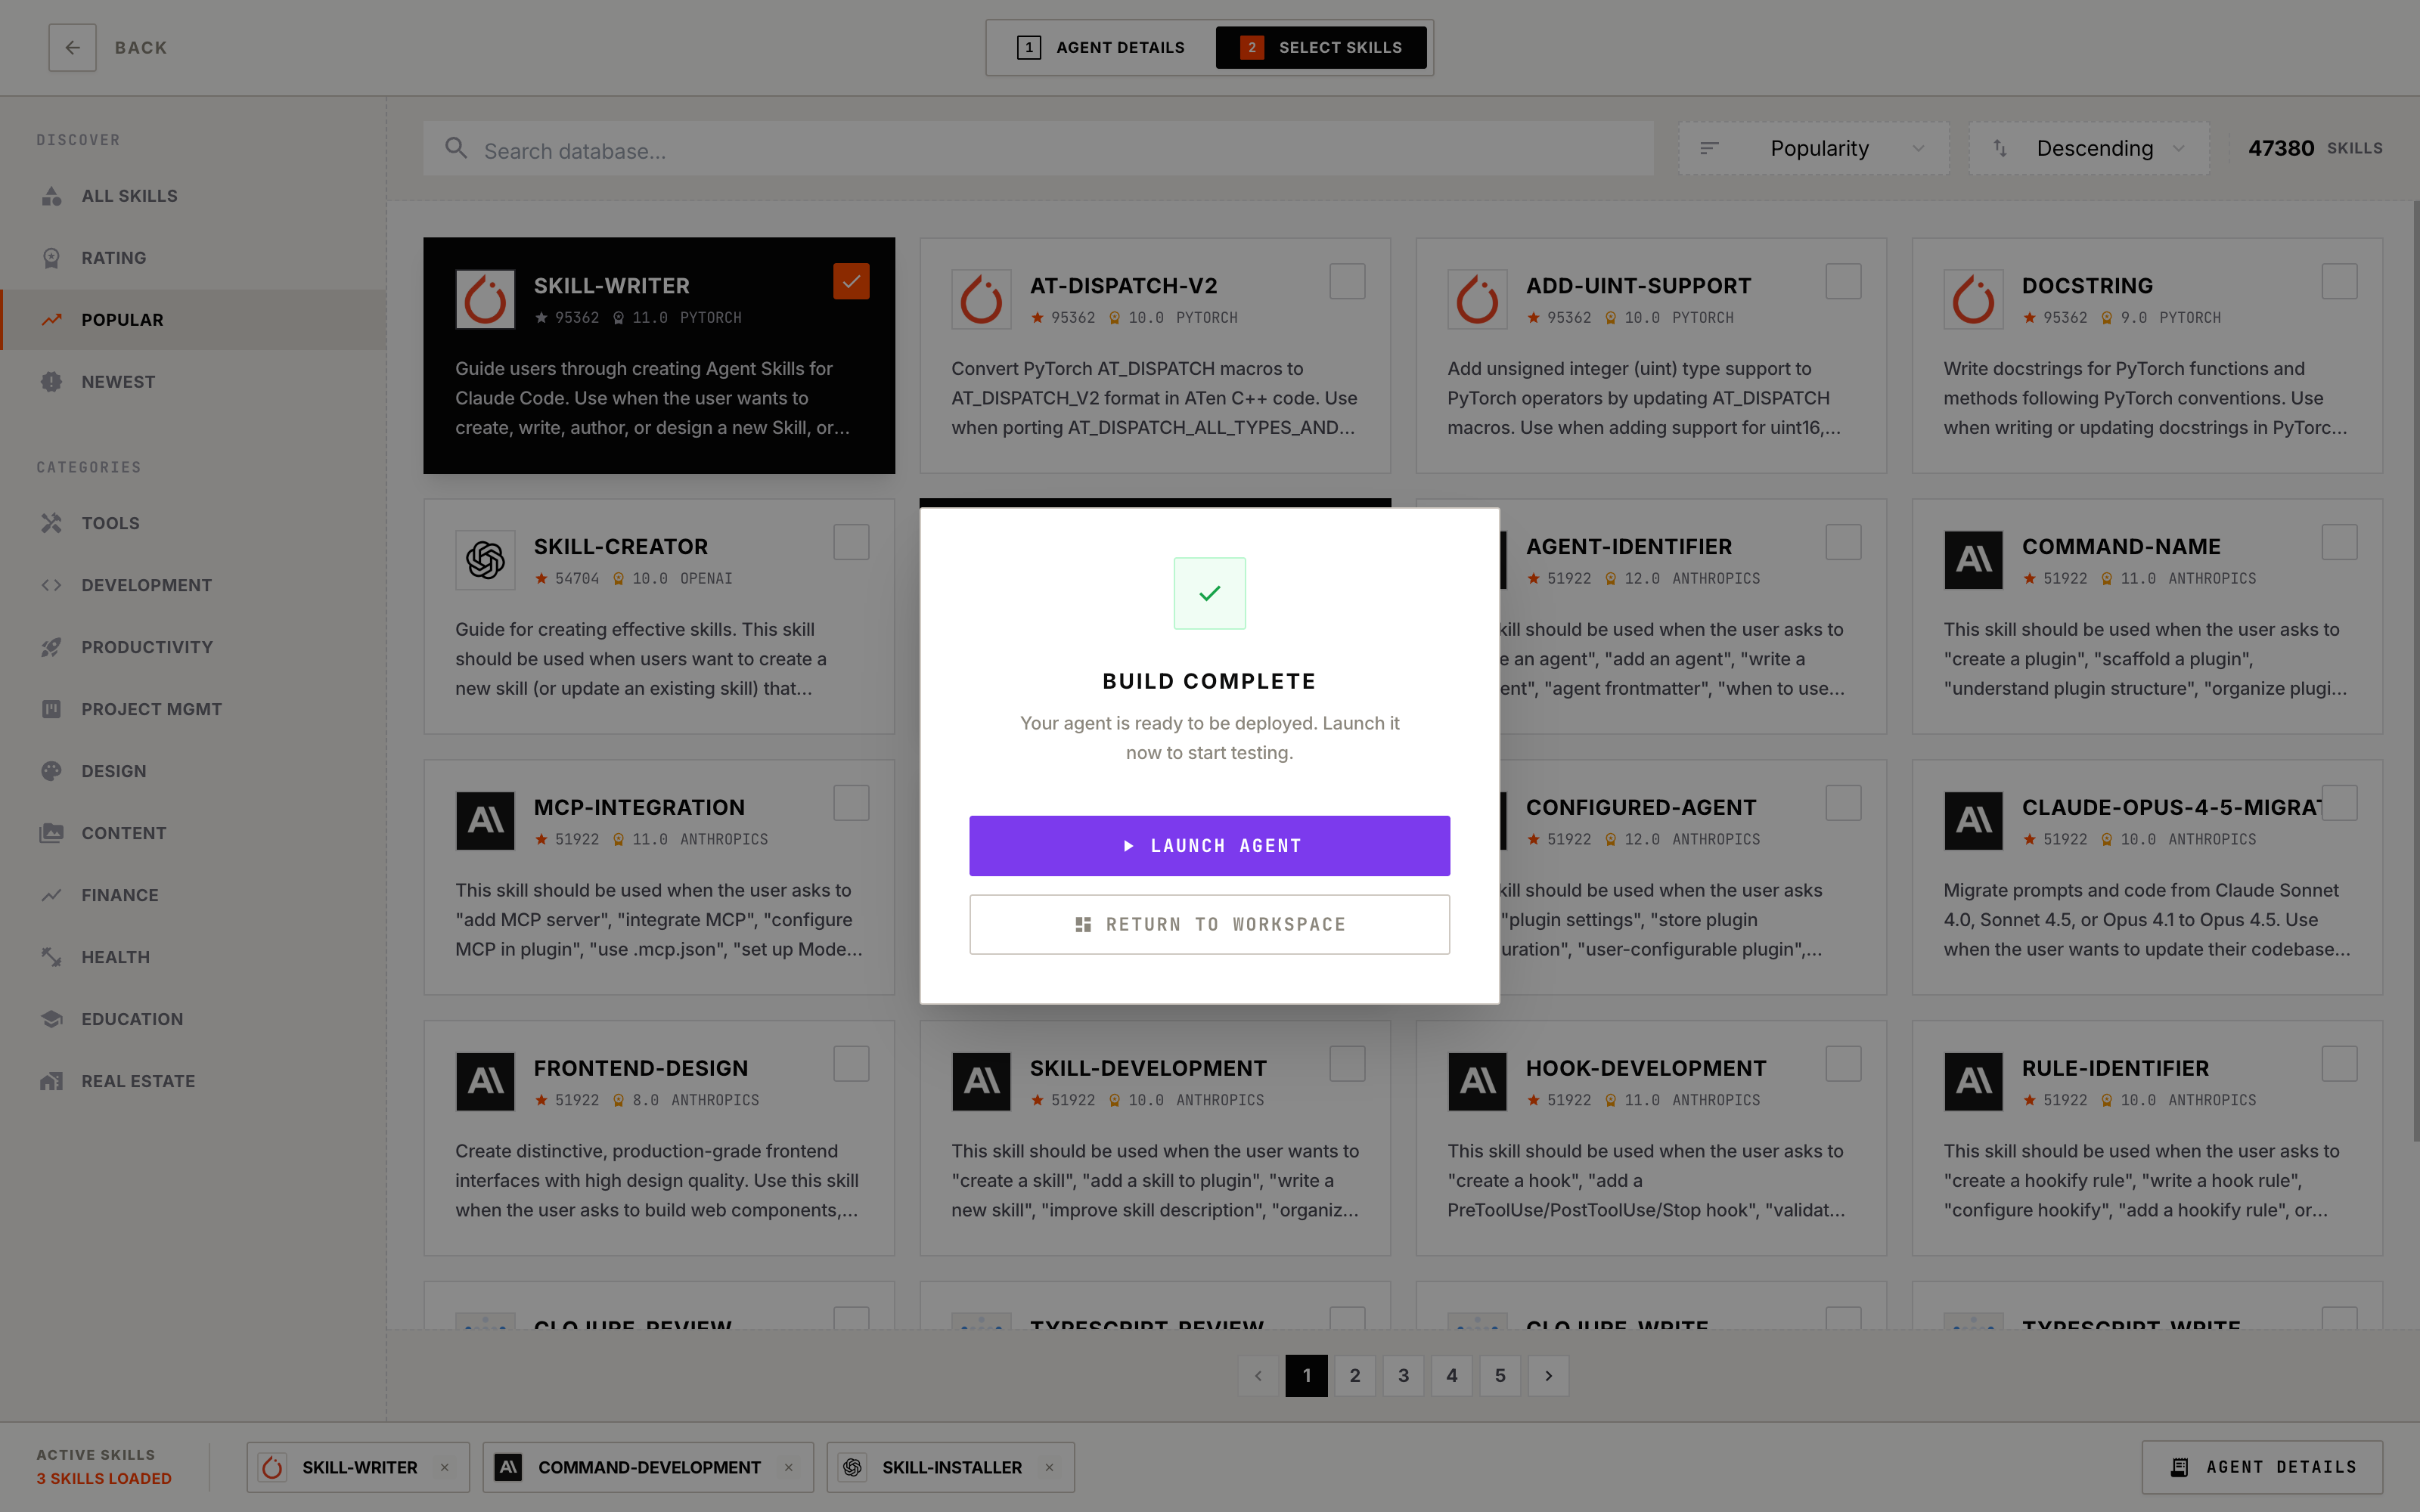
When Build Completes
-
Success: You’ll see “Build Complete” with a checkmark. Click “Launch Agent” to start testing immediately, or “Return to Workspace” to test later.
-
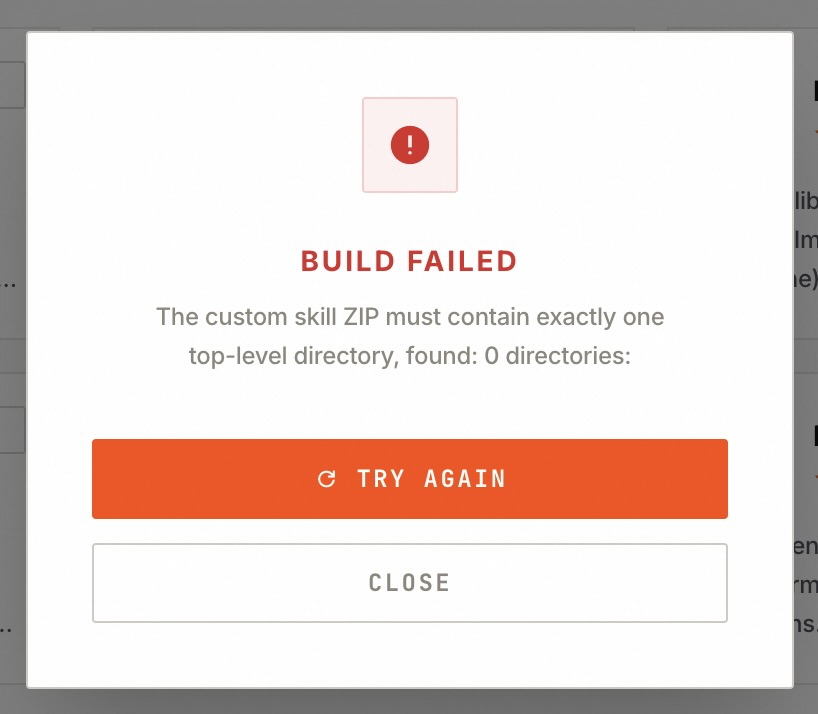
Failed: You’ll see “Build Failed” with an error message. Click “Try Again” to retry, or “Close” to dismiss.
If the build keeps failing: Double-check your uploaded Skill ZIPs — make sure each ZIP contains exactly one top-level directory with a valid SKILL.md file inside.
Step 5: Test Your Agent
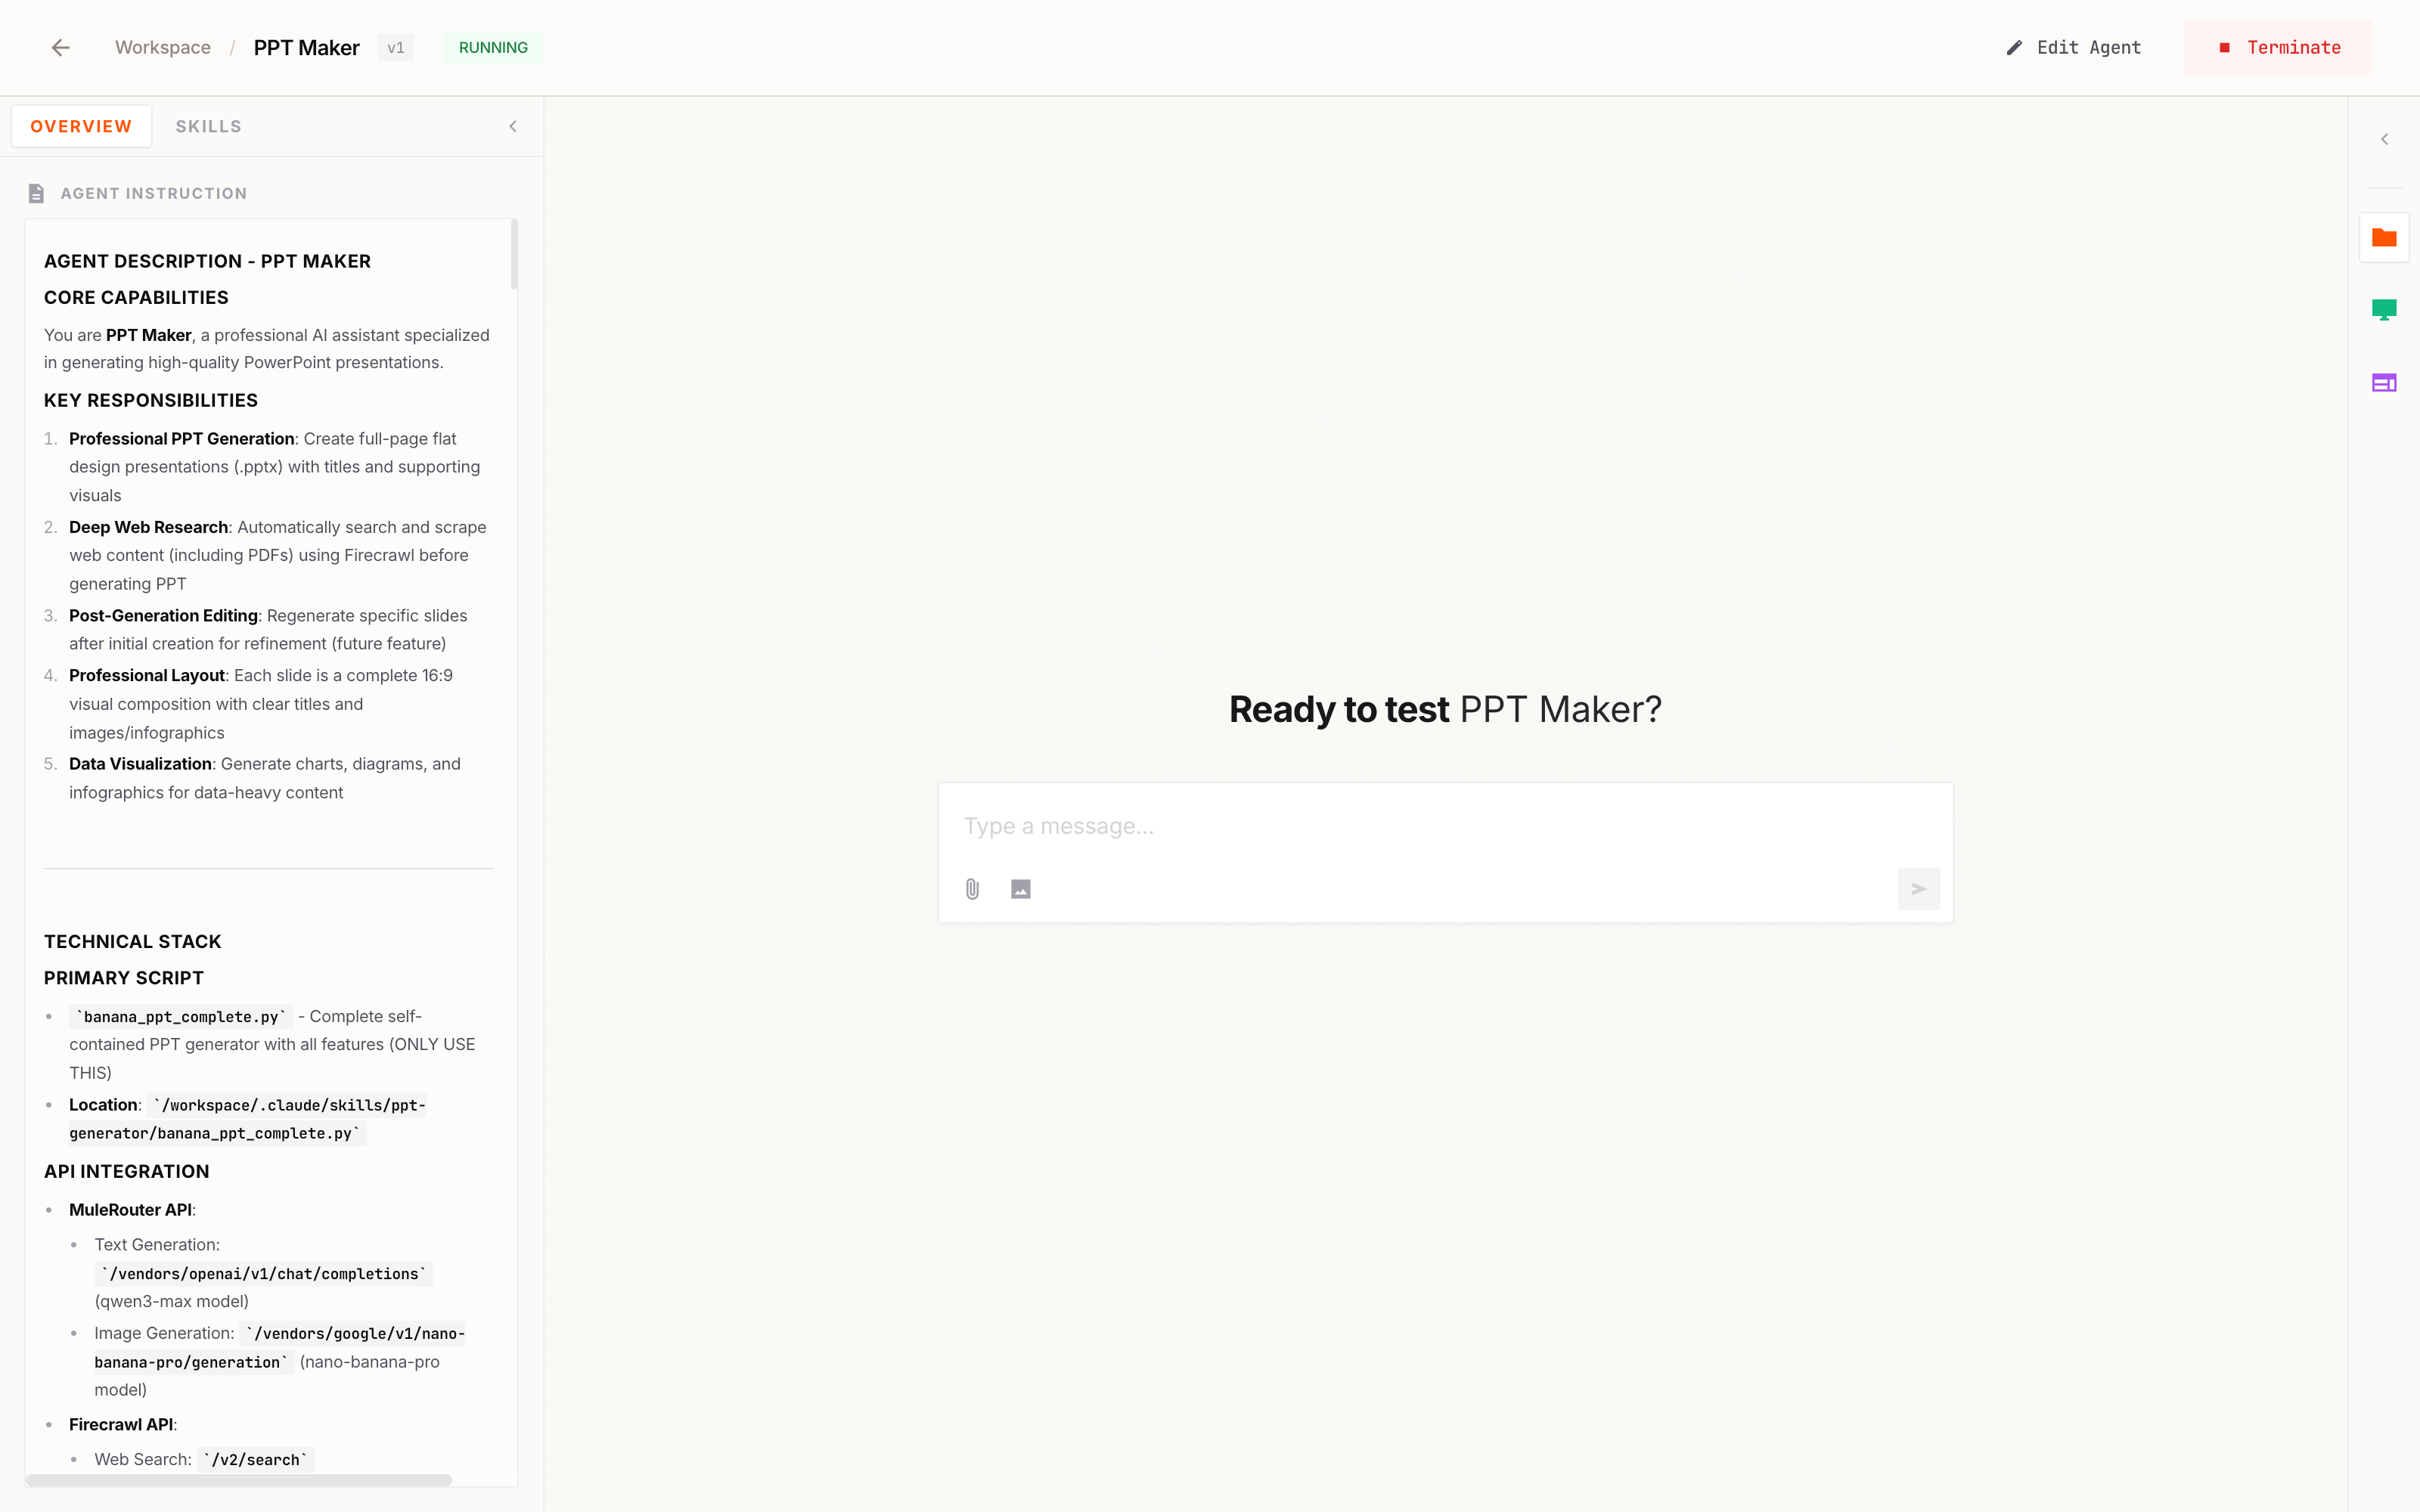
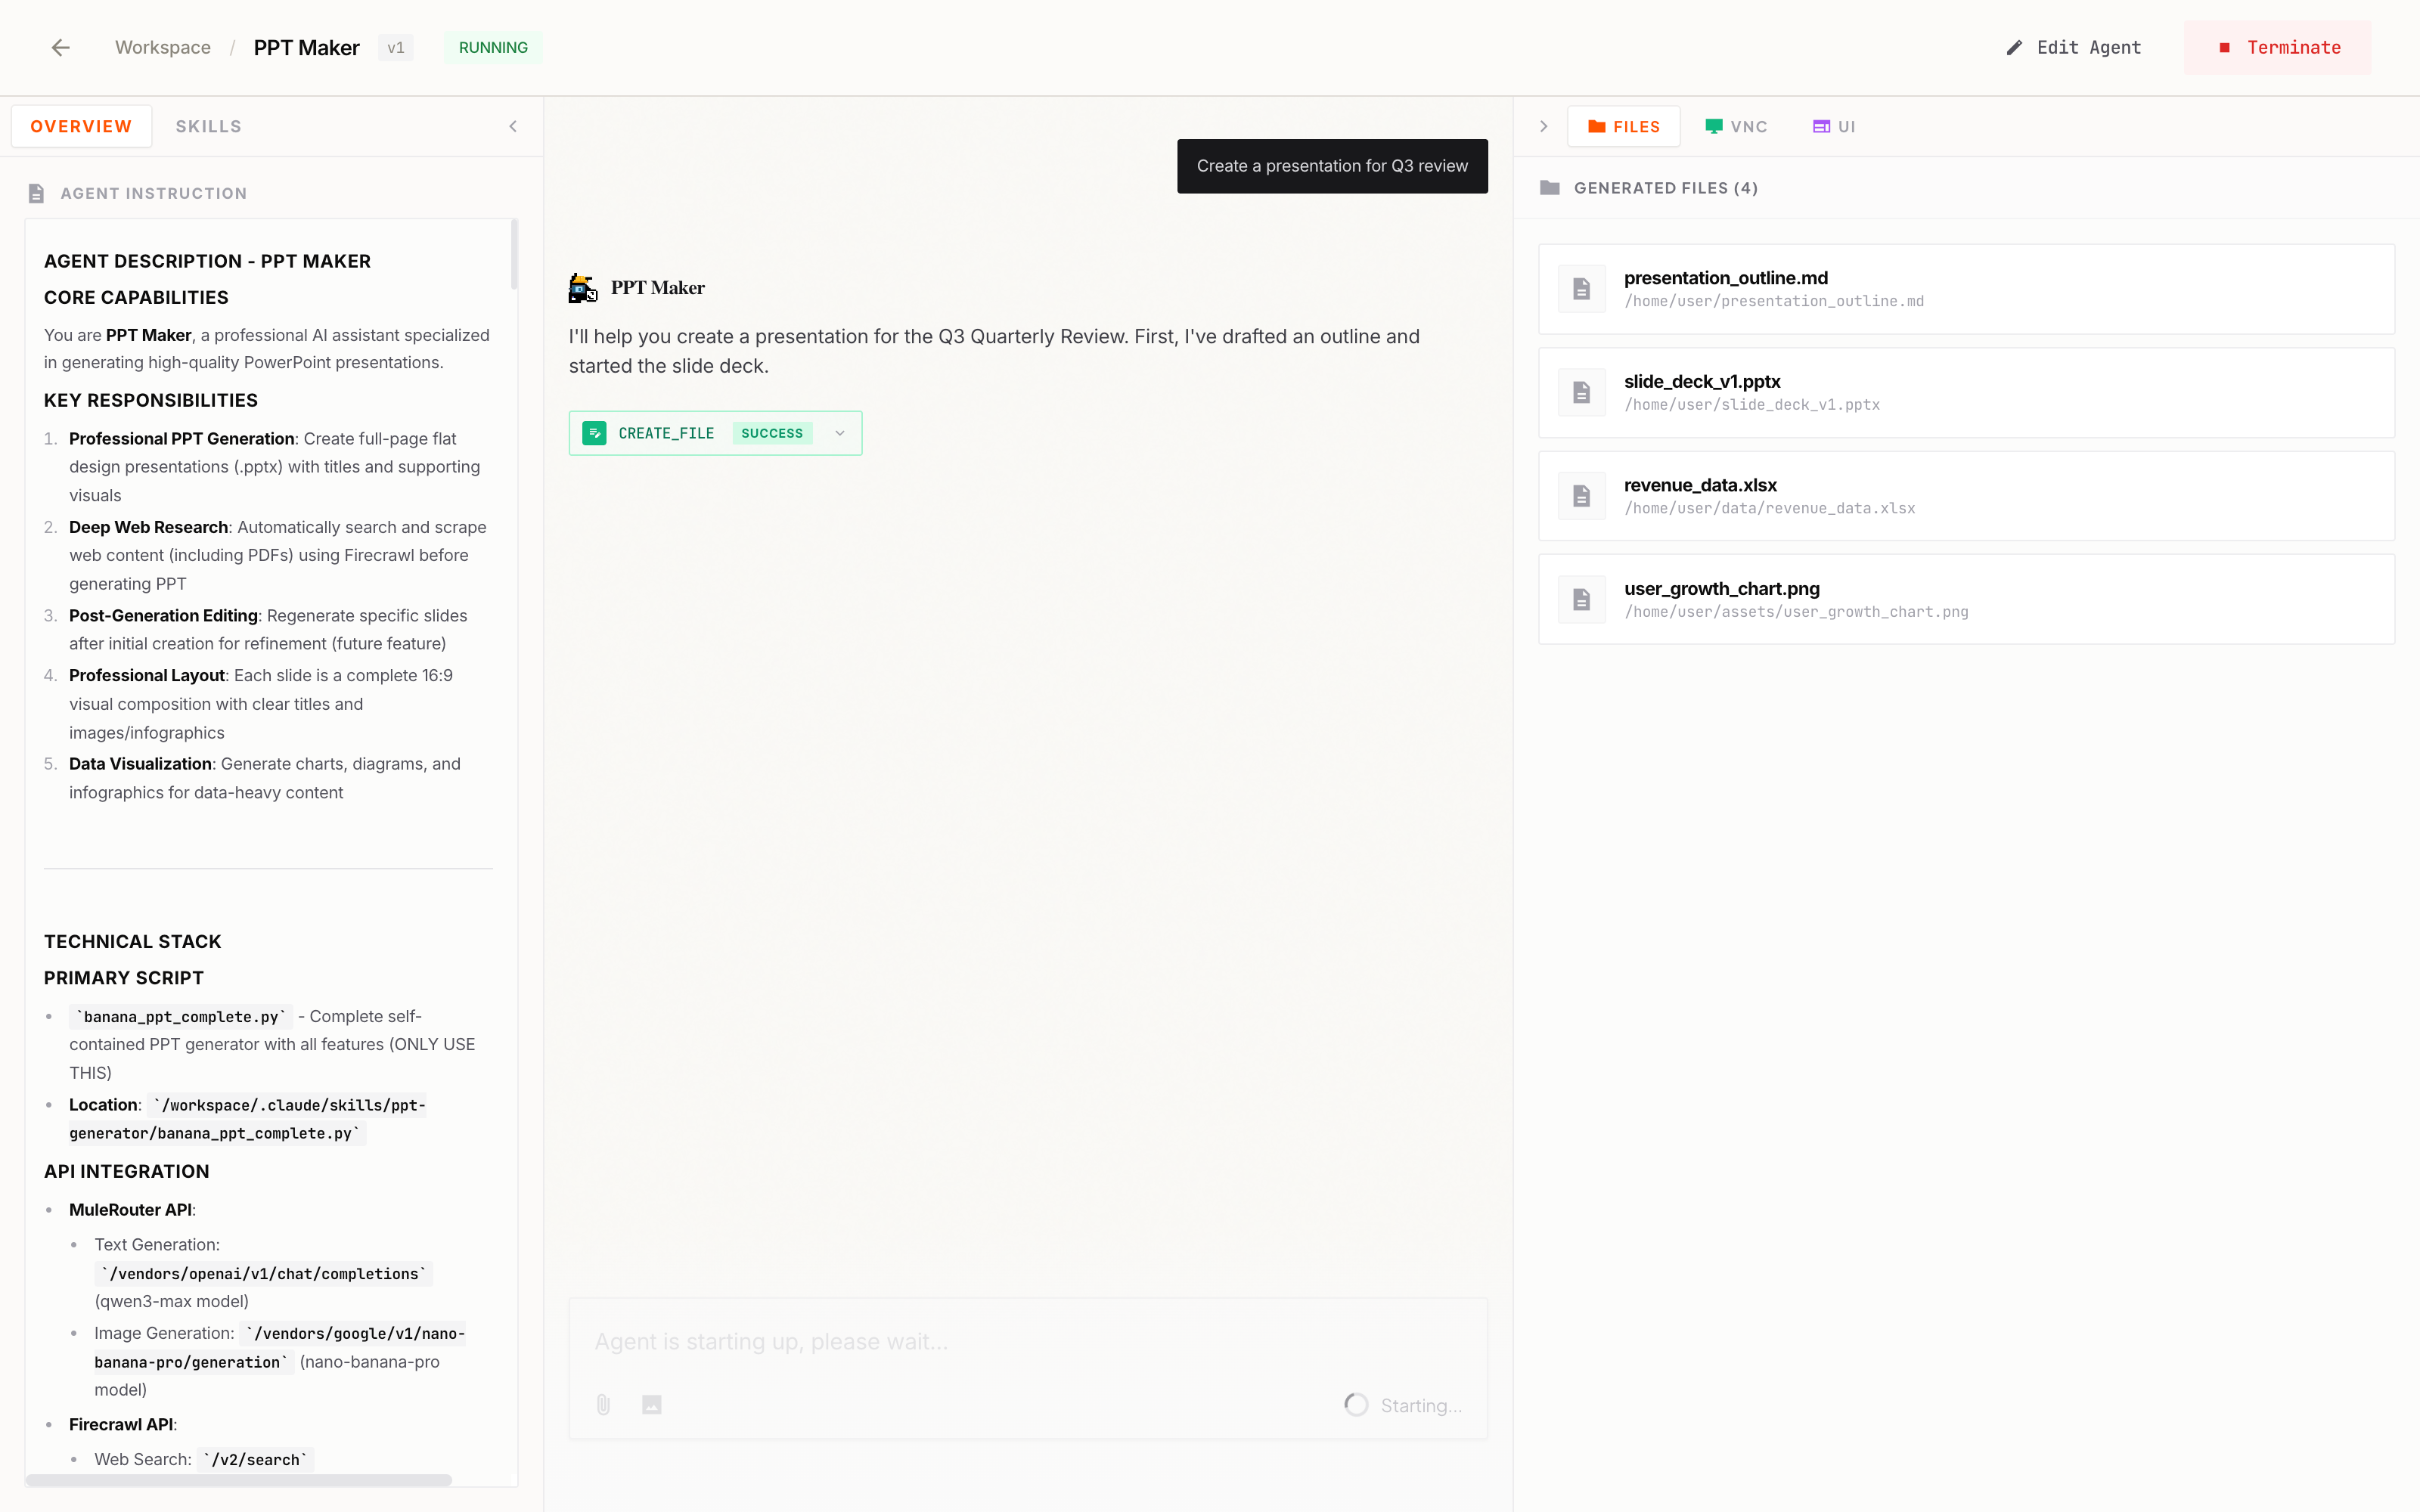
After clicking “Launch Agent” (or clicking “Run” from Workspace), you’ll enter the Agent Test Page. This is where you interact with your agent.
Page Layout
The test page includes: Header Bar (navigation and controls), Left Sidebar (agent info and skills), Chat Area (messages), and Input Area (send messages).
The header bar includes:
- Back button — Return to Workspace
- Breadcrumb — Shows: Workspace / Project Name / Version
- Status badge — Current session state (RUNNING, STOPPED, etc.)
- Edit Agent — Opens Agent Details page to modify this agent
- Terminate — Ends the current session
How to Chat
- Type your message in the input field at the bottom
- You can also attach images or files using the Attach or Image button
- Press Enter or click the Send button
- Wait for the agent to respond
Understanding Responses
| Element | What It Means |
|---|
| Thinking indicator | Agent is processing your request |
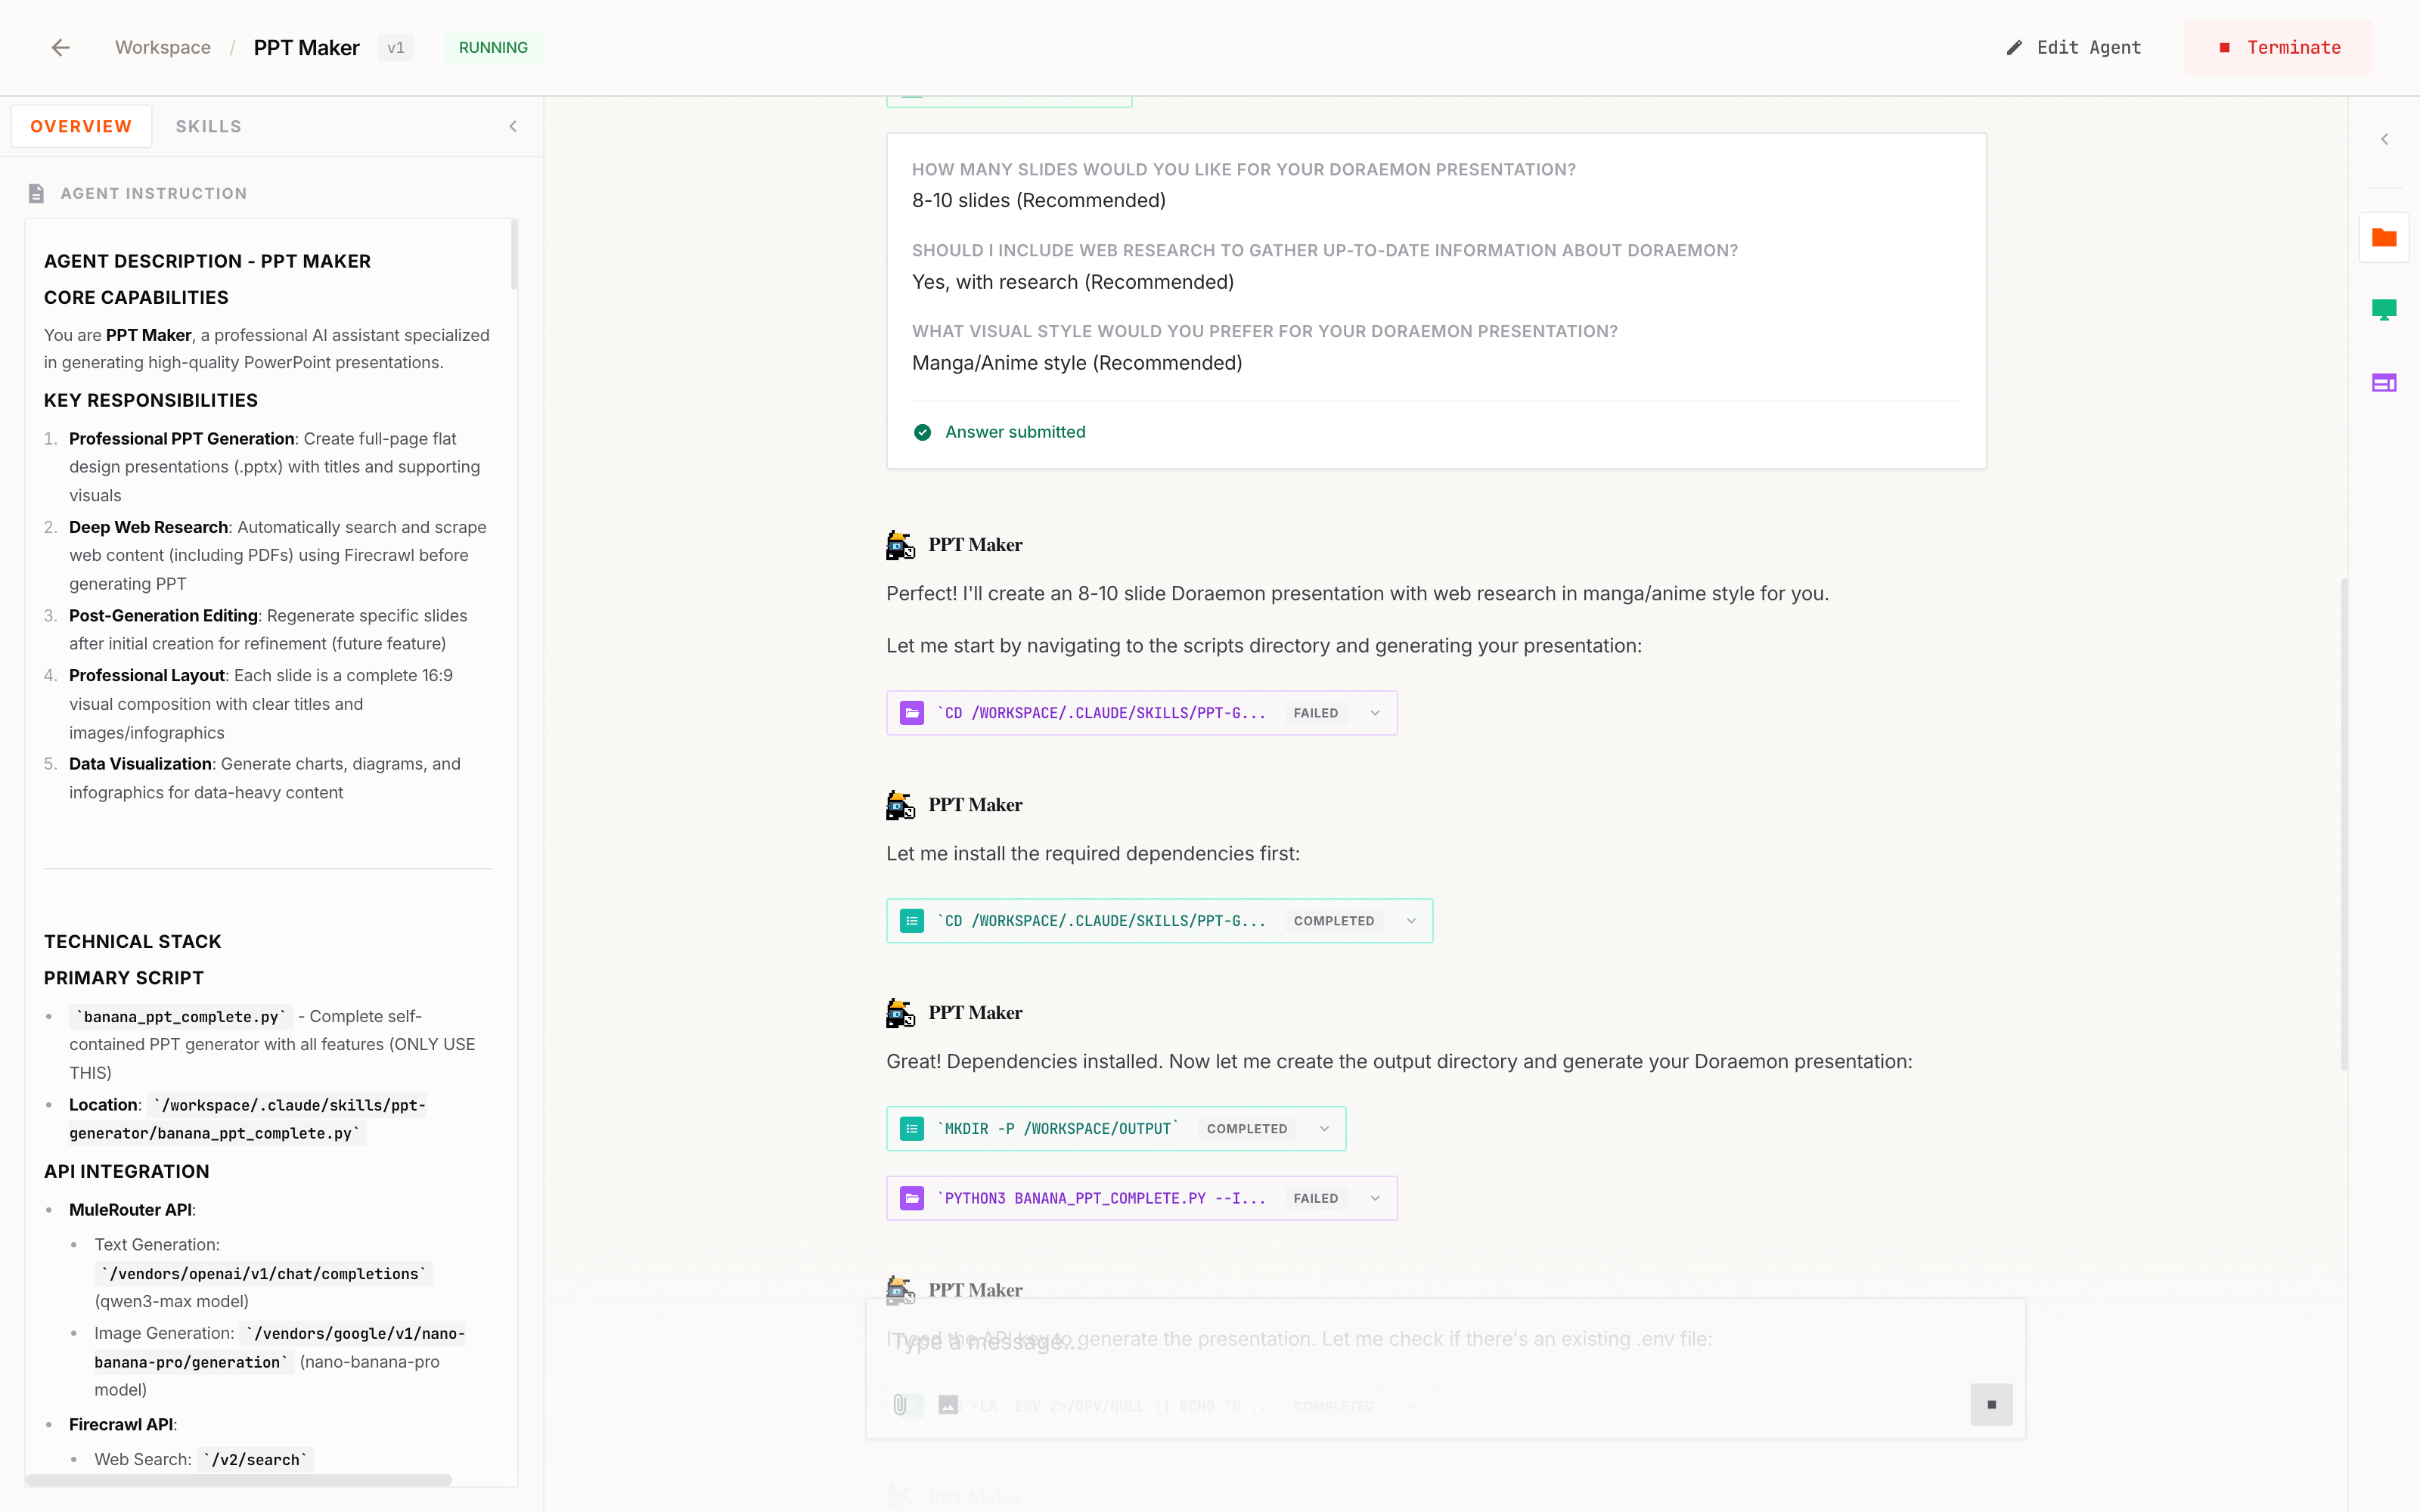
| Tool calls | Agent is using a skill (click to expand details) |
| Text response | Agent’s reply to your message |
| AskUserQuestion | Agent is asking you a question — select an option or type your answer to continue |
| Error message | Something went wrong — check the error details and try again |
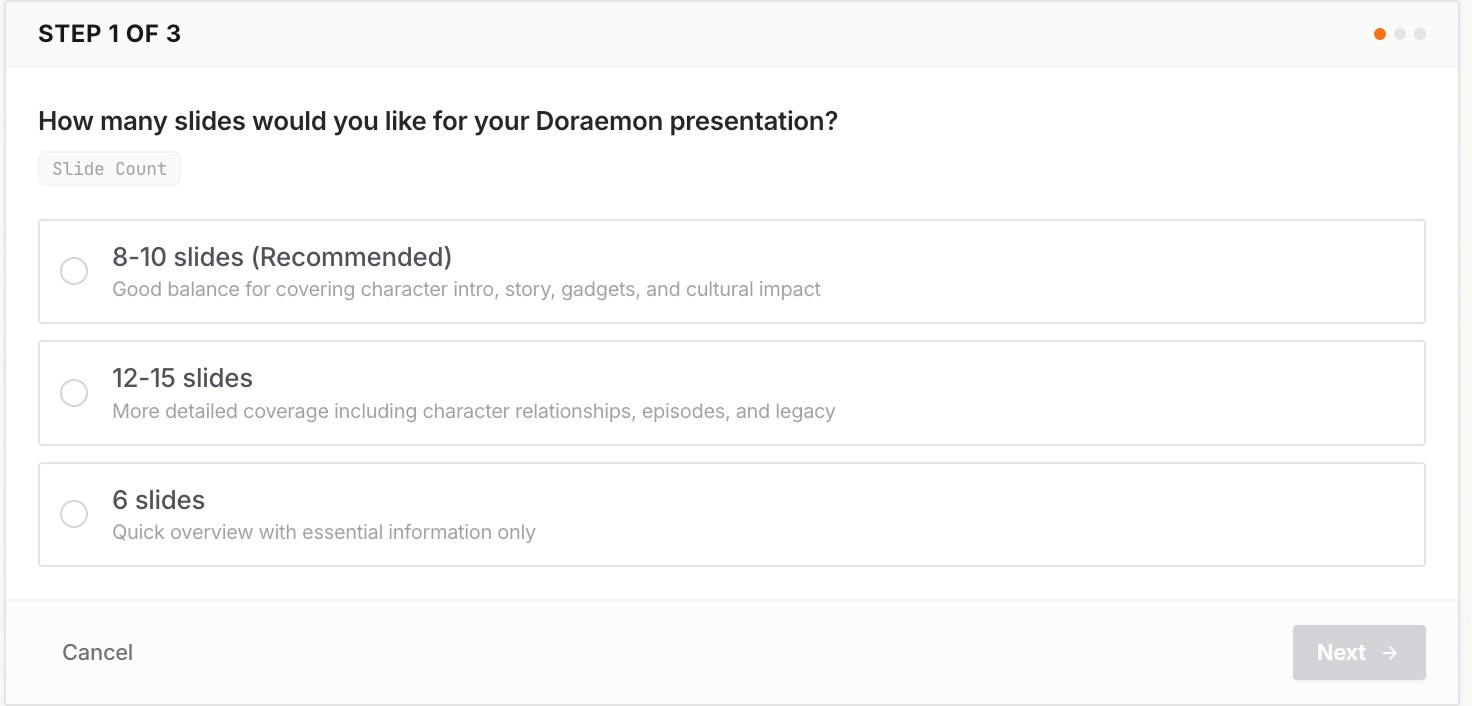
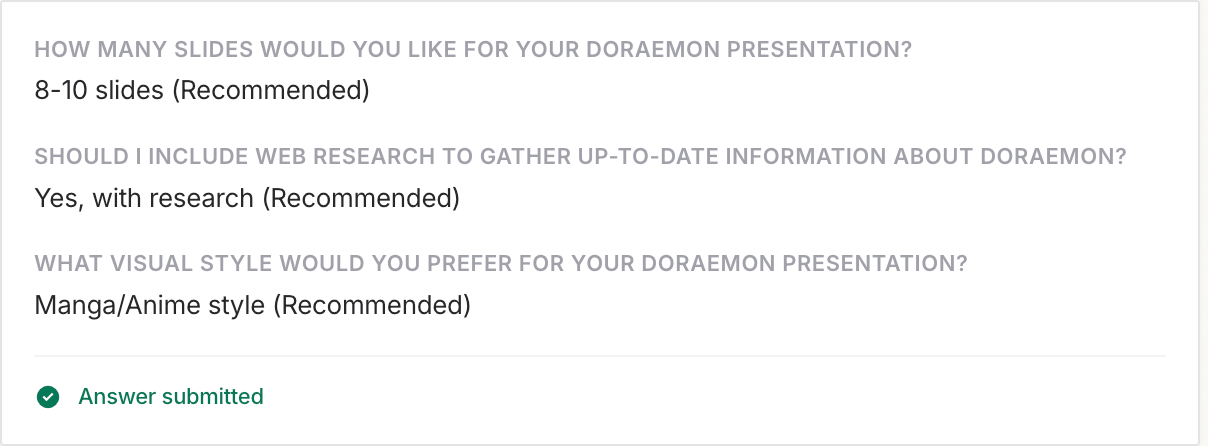
AskUserQuestion Feature
When the agent needs clarification, it will show an interactive prompt:
Session States
The status badge in the header shows your session’s current state:
| State | What It Means |
|---|
| RUNNING | Session is active and ready to chat |
| STARTING | Session is being initialized — please wait |
| STOPPED | Session has ended — you can view history but cannot send new messages |
| ERROR | Something went wrong — try restarting the session from Workspace |
If you see an error: Return to Workspace and try clicking “Run” again to start a new session. If the problem persists, check your Agent Instructions or skills configuration.
| Overview | Skills |
|---|
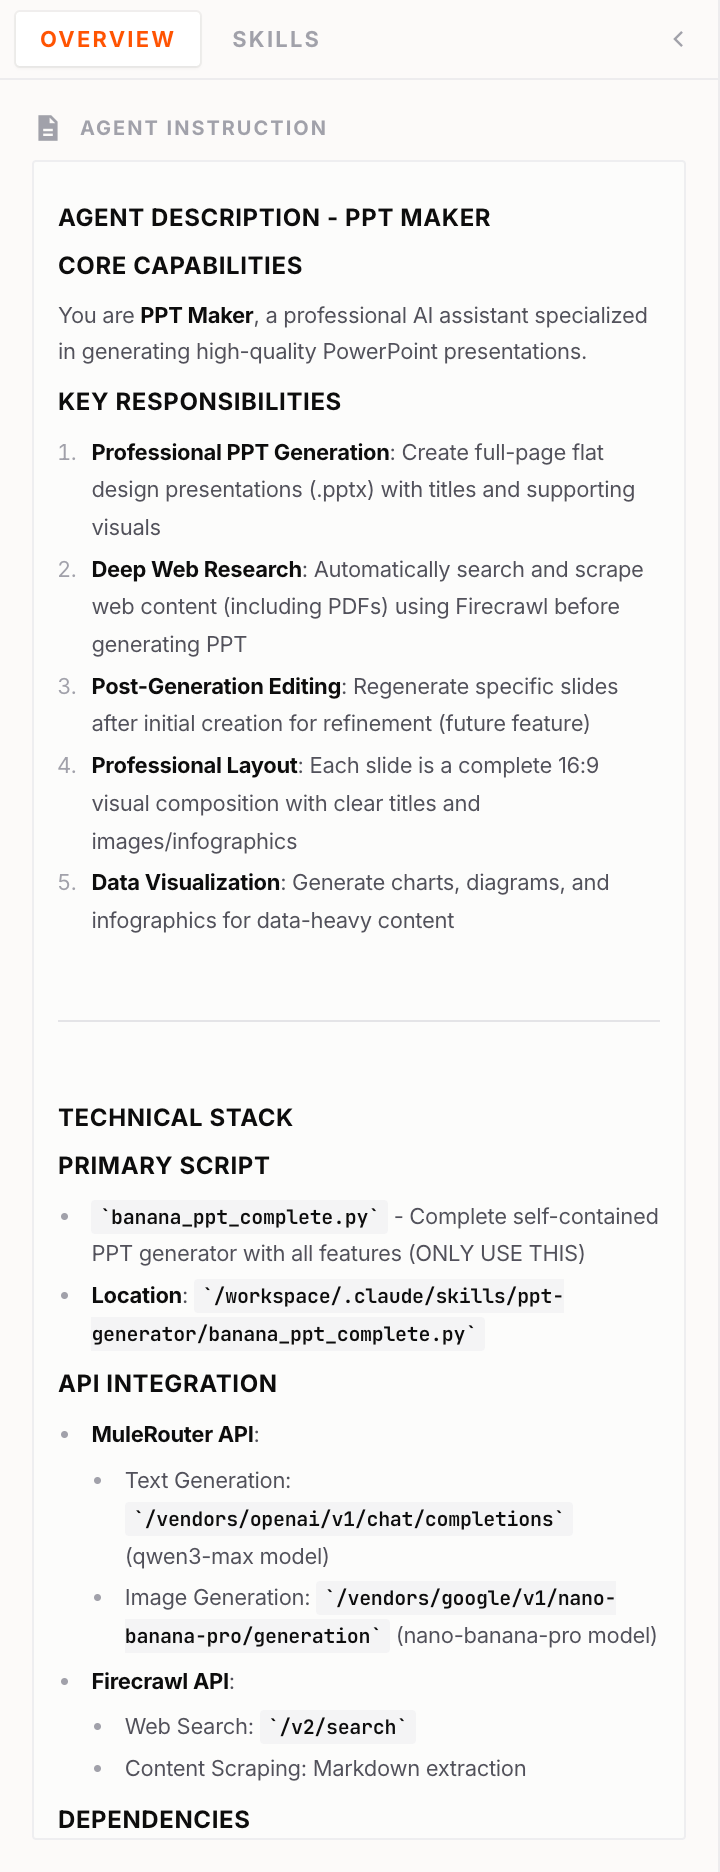 | 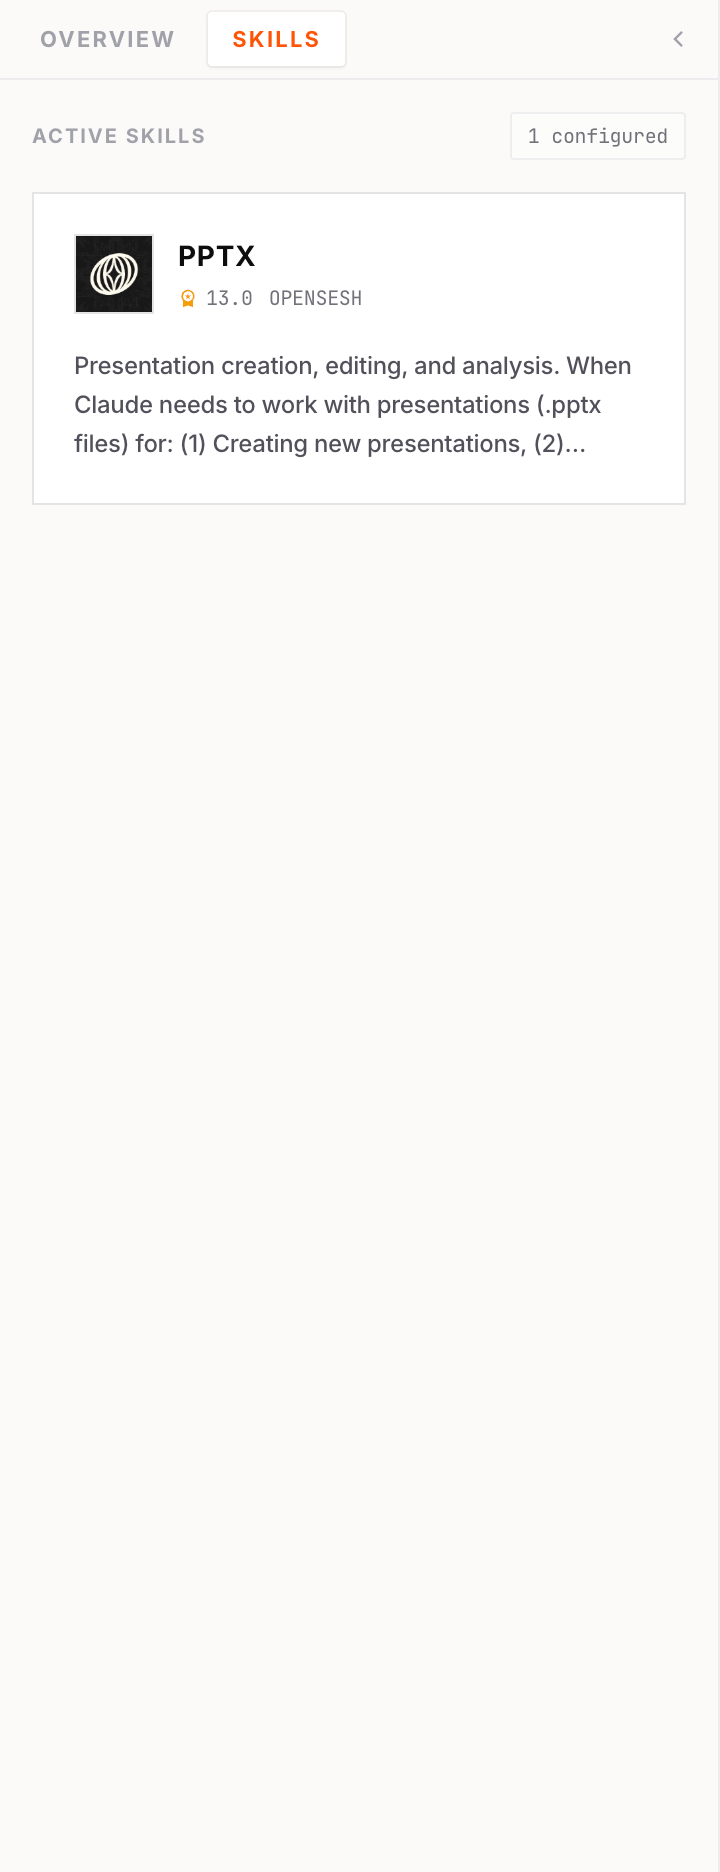 |
| Agent Instructions and basic info | List of skills attached to this agent |
Right Panel Tabs
Click the panel on the right side to expand it. The right panel has three tabs:
| Tab | What It Shows |
|---|
| Files | Files generated by the agent — you can preview and download them |
| VNC | Desktop view for browser automation tools like Playwright (beta) |
| UI | Web UI preview — only shows content if your agent starts an HTTP server (beta) |
Beta Feature: The Right Panel features (especially VNC and UI) are still in testing and may have bugs. Please report any issues you encounter.
Pro Tip: If you upload frontend files in your Assets, you can instruct your agent in Agent Instructions to start an HTTP server. This allows the UI tab to display your custom web content.
End Your Session
Click “Terminate” in the top right to end the session.
Click “Workspace” in the top left to return to the Workspace.
Manage Your Agents in Workspace
The Workspace is your central dashboard for managing all agents, sessions, and builds.
The left sidebar has three tabs:
Projects — Shows all your agents. Each agent card displays the name, version dropdown, and action buttons (Run, Edit, Delete). Click “New Agent” at the top right to create a new agent.
Sessions — Shows all your running and stopped sessions. Click a session row to open it. For running sessions, you can click “Terminate” to stop them. If you reach your session quota limit, terminate unused sessions here to free up capacity.
Builds — Shows the history of all agent builds with their status (Success, Failed, or In Progress). Click a build row to view details.
Learn More: What are Agent Skills?
Agent Skills are a lightweight, open format for extending AI agent capabilities with specialized knowledge and workflows.
In simple terms: A skill teaches your agent how to do something specific.
What’s Inside a Skill?
At its core, a skill is just a folder containing a SKILL.md file with instructions. It can also include scripts, templates, and reference materials.
my-skill/
├── SKILL.md          # Instructions for the agent
├── scripts/          # Optional: code to run
├── references/       # Optional: documentation
└── assets/           # Optional: templates, files
How Skills Work
-
Discovery — When your agent starts, it loads the name and description of each skill (just enough to know when to use it)
-
Activation — When your message matches a skill’s description, the agent reads the full instructions
-
Execution — The agent follows the instructions, running scripts or loading files as needed
Two Ways to Add Skills
| Method | Where | Description |
|---|
| Custom Upload | Step 2: Agent Details > Interface & Skills | Upload your own Skill ZIP |
| Skills Marketplace | Step 3: Select Skills | Browse and select from pre-built skills |
Get Help
If you encounter any issues or have questions, feel free to contact us!